Creating a cluster on Proxmox VE
Today we're going to look at how to create and destroy a cluster on Proxmox VE.


Contents :
- 1-Creating a cluster
- 2-Add a node
- 3-Deleting a node
1-Creating a cluster
Here's how to create a cluster and add/delete a node.
There are many advantages, but if I had to pick out 3, I'd say they're the best:
- Centralized node management via web interface
- Simplified migration of virtual machines and containers
- And above all, high availability (HA) with file systems such as ZFS or Ceph
Creating a cluster couldn't be simpler. Just type the following command with the name you want
pvecm create <clustername>For example, name it "pmx-cluster".
root@pmx01:~# pvecm create pmx-cluster
Corosync Cluster Engine Authentication key generator.
Gathering 2048 bits for key from /dev/urandom.
Writing corosync key to /etc/corosync/authkey.
Writing corosync config to /etc/pve/corosync.conf
Restart corosync and cluster filesystem
root@pmx01:~#
Then check that it has been created with the "status".
root@pmx01:~# pvecm status
Cluster information
-------------------
Name:             pmx-cluster
Config Version:   1
Transport:        knet
Secure auth:      on

Quorum information
------------------
Date:             Fri Jun 10 16:43:39 2022
Quorum provider:  corosync_votequorum
Nodes:            1
Node ID:          0x00000001
Ring ID:          1.5
Quorate:          Yes

Votequorum information
----------------------
Expected votes:   1
Highest expected: 1
Total votes:      1
Quorum:           1
Flags:            Quorate

Membership information
----------------------
    Nodeid      Votes Name
0x00000001          1 192.168.0.71 (local)
root@pmx01:~#
Congratulations! The cluster is active.
2-Add a node
Type the following command with the IP address of the server that initiated the cluster (which we'll name node) and that you wish to add to the cluster with the "-force".
root@pmx02:~# pvecm add <pmx01-ip> -force
Please enter superuser (root) password for '192.168.0.71': **************
Establishing API connection with host '192.168.0.71'
The authenticity of host '192.168.0.71' can't be established.
X509 SHA256 key fingerprint is 65:96:72:29:08:45:3F:06:94:60:D4:73:B9:E5:8D:8B:B6:33:D1:79:3E:6F:C3:CB:16:E5:90:64:FC:84:03:B0.
Are you sure you want to continue connecting (yes/no)? yes
Login succeeded.
check cluster join API version
No cluster network links passed explicitly, fallback to local node IP '192.168.0.72'
Request addition of this node
Join request OK, finishing setup locally
stopping pve-cluster service
backup old database to '/var/lib/pve-cluster/backup/config-1654872430.sql.gz'
waiting for quorum...OK
(re)generate node files
generate new node certificate
merge authorized SSH keys and known hosts
generated new node certificate, restart pveproxy and pvedaemon services
successfully added node 'pmx02' to cluster.
root@pmx02:~#
Add a second one while you're at it.
root@pmx03:~# pvecm add <pmx01-ip> -force
Please enter superuser (root) password for '192.168.0.71': **************
Establishing API connection with host '192.168.0.71'
The authenticity of host '192.168.0.71' can't be established.
X509 SHA256 key fingerprint is 65:96:72:29:08:45:3F:06:94:60:D4:73:B9:E5:8D:8B:B6:33:D1:79:3E:6F:C3:CB:16:E5:90:64:FC:84:03:B0.
Are you sure you want to continue connecting (yes/no)? yes
Login succeeded.
check cluster join API version
No cluster network links passed explicitly, fallback to local node IP '192.168.0.73'
Request addition of this node
Join request OK, finishing setup locally
stopping pve-cluster service
backup old database to '/var/lib/pve-cluster/backup/config-1654872627.sql.gz'
waiting for quorum...OK
(re)generate node files
generate new node certificate
merge authorized SSH keys and known hosts
generated new node certificate, restart pveproxy and pvedaemon services
successfully added node 'pmx03' to cluster.
root@pmx03:~#
Check that the nodes have been added.
root@pmx03:~# pvecm nodes
Membership information
----------------------
Nodeid Votes Name
1 1 pmx01
2 1 pmx02
3 1 pmx03 (local)
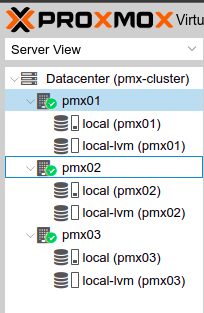
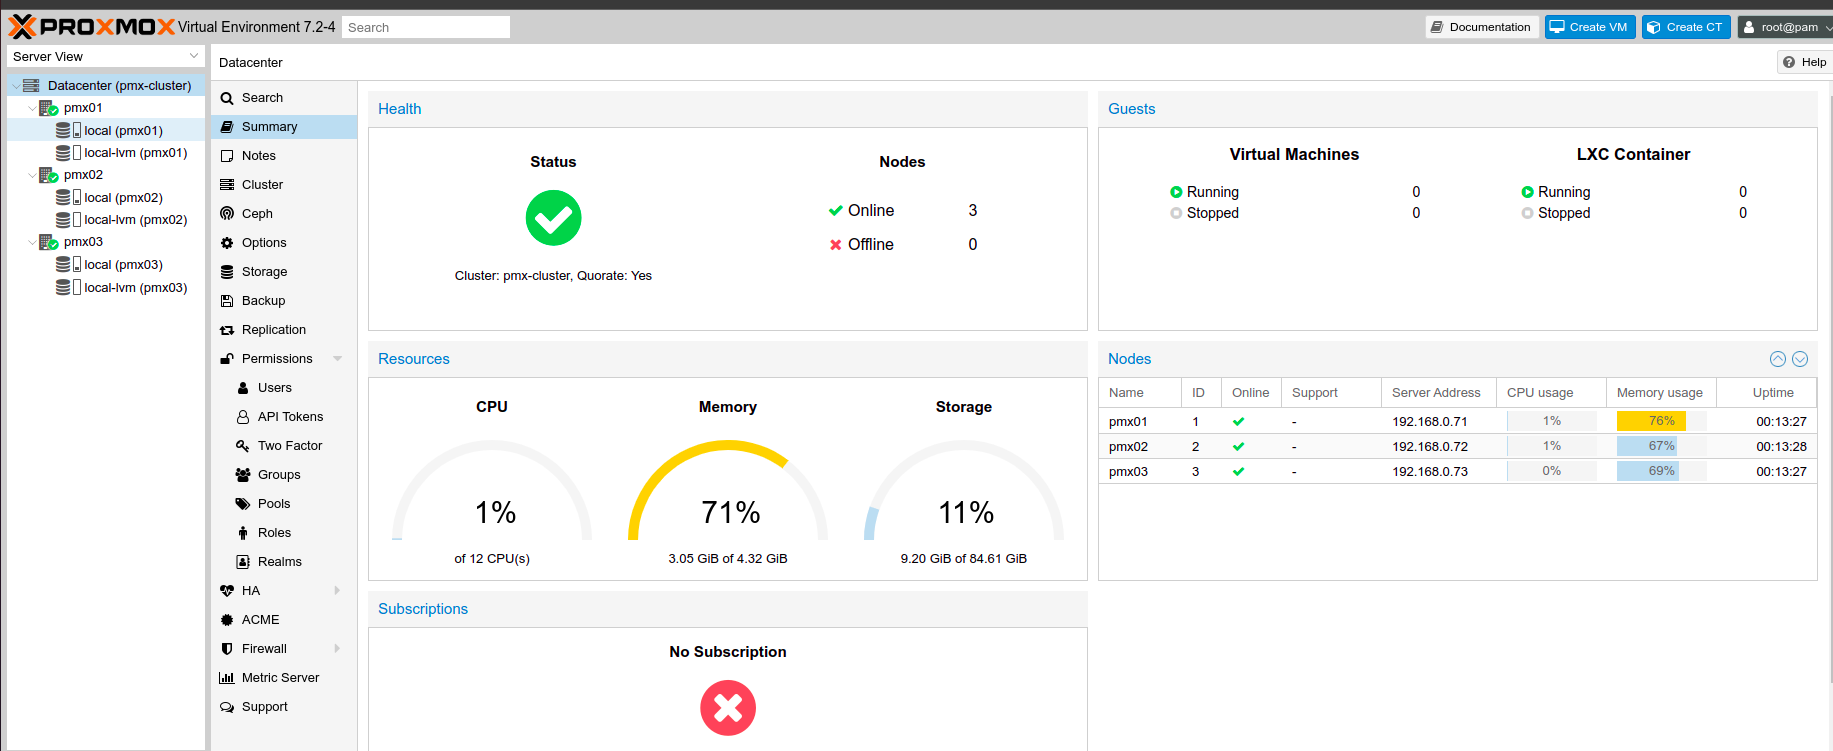
root@pmx03:~# Congratulations! The nodes have been added and are visible in the web interface.
3-Deleting a node
Finally, let's see how to delete a node. According to the Proxmox documentation, you need to type the following command on one of the nodes. If, starting from server "pmx03", you wish to delete server pmx01.
pvecm delnode <pmx01-ip>But there's a catch. In some cases, this command will be insufficient to delete a node cleanly.
While doing some research, I found this script on a Reddit thread that allows you to delete a node correctly without any impact.
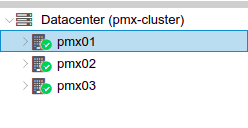
Here's an example. Let's say you have a cluster of 3 nodes like this one and you want to unlink "pmx01".
Go to the "pmx01" shell and run the following commands.
!/bin/bash

# Stop cluster services and synchronization

systemctl stop pve-cluster corosync

# Force local mode (ignore corosync.conf, force quorum) for Proxmox Cluster File System

pmxcfs -l

# Next, delete the data in the corosync folder

rm -r /etc/corosync/*

# Suppression du fichier corosync.conf contenant la configuration du cluster

rm /etc/pve/corosync.conf

# Stopping the pmxcfs process

killall pmxcfs

# Starting the "pve-cluster" service

systemctl start pve-cluster
"pmx02" and "pmx03" will no longer appear in the "pmx01" node.
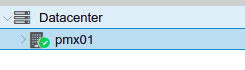
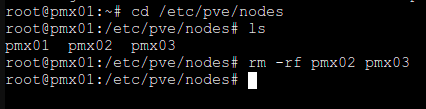
Go to /etc/pve/nodes and delete the "pmx02" and "pmx03" folders to finish cleaning.
"pmx01" is now independent of the cluster again.
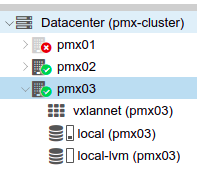
On the other hand, "pmx01" still appears in the cluster made up of "pmx02" and "pmx03", with a red cross indicating that it is unavailable.
So to delete it permanently. You'll need to type these two commands on any node in the cluster, as everything is synchronized.
pvecm delnode pmx01
Then finally.
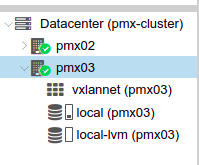
rm -rf /etc/pve/nodes/pmx01There you go!
Keep in mind that the most complex part is deleting a node cleanly, the rest is very easy to access.
If you like my contents, follow me on:
- Discord: https://discord.gg/nhQzEDSx7x
- Instagram: https://www.instagram.com/technonagib/
- Reddit: https://www.reddit.com/r/technonagib/
- Twitter: https://twitter.com/technonagib