Virtualize Windows 11 on Proxmox VE
Guide to installing Windows 11 on Proxmox VE with the best settings.


Contents :
- Virtual machine creation
- Installation
- Post-installation
- Optimizations
- Creating a template
1-Creating the virtual machine
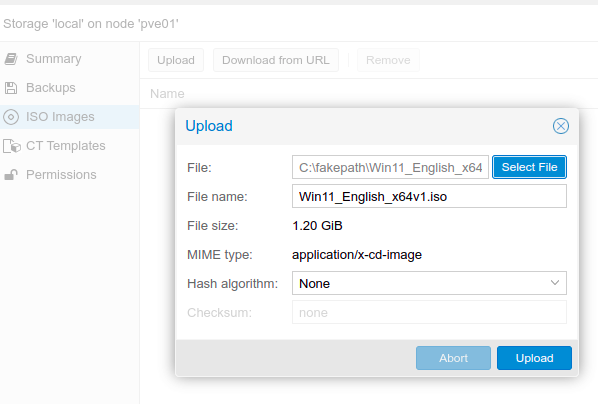
Download the Windows 1 ISO at: https://www.microsoft.com/fr-fr/software-download/windows11
Then add it to your server by going to Datacenter<servername>\local\ISO Images\Upload then "Select File".
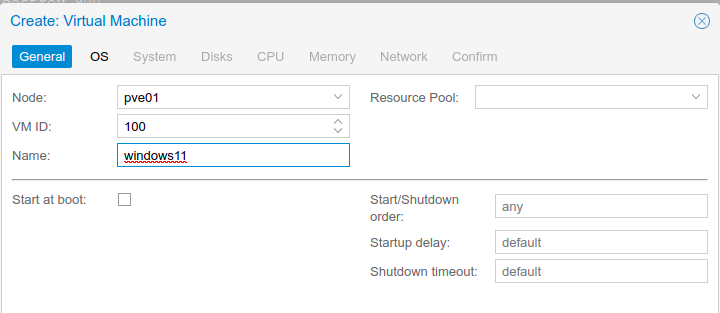
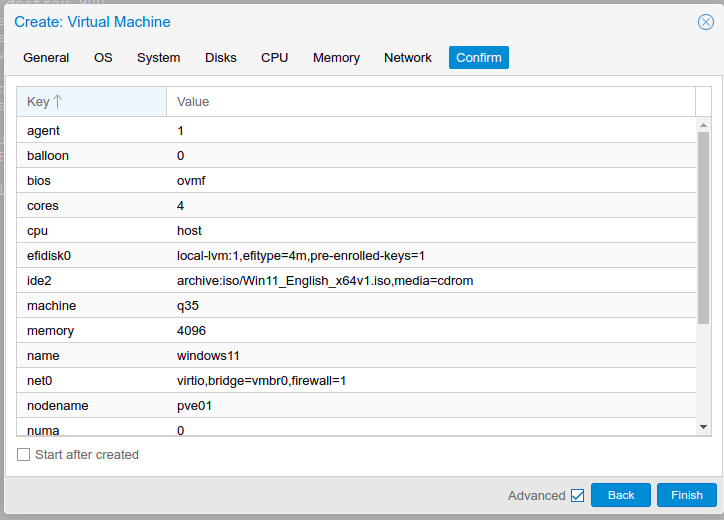
Next, create a virtual machine and give it a name.
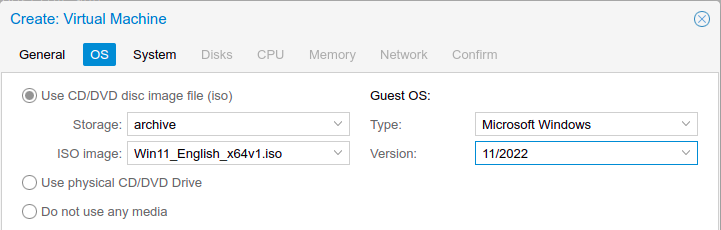
In "Use CD/DVD disk image file 'iso", select your image. If you're on default storage, they're stored in "local" ("archive" is my 8Tb hard disk where I store my images and backups).
By default, "Guest OS" is set to Microsoft Windows and 11/2022.
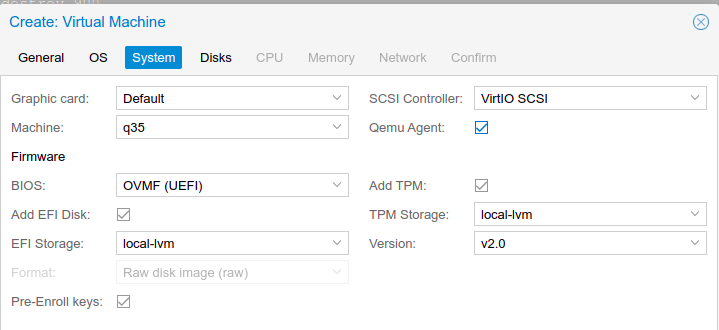
Next, activate "Qemu Agent" and select "local-lvm" to store the EFI partition and the TPM 2.0 module - you know, the module that prevents you from installing Windows 11 on older workstations. There's nothing to worry about here.
Qemu Agent is, as its name suggests, the Qemu emulator's link agent. It is useful for sending information such as the IP address, as well as for starting and shutting down the virtual machine.
By default, Proxmox VE selects the OVMF (Open Virtual Machine Firmware) bios, which is the open-source port of the UEFI standard, and the q35 machine profile, which is more modern than i440fx. It is mandatory to transmit a physical peripheral (PCI passthrough).
It also selects VirtIO SCSI as the default SCSI controller, which will be useful when using para-virtualization drivers. To find out more, click here:
 Daniel Erez
In "Cache", select "Write back" for better performance and "SCSI" in "Bus/Device" as it replaces VirtIO Block which is deprecated and IDE/SATA are not efficient enough in read/write,
Also select "SSD emulation" to tell the virtual machine that it's running on an SSD rather than a hard disk, which will extend the life of the SSD. Don't forget to enable "Discard" for better management of dynamic provisioning.

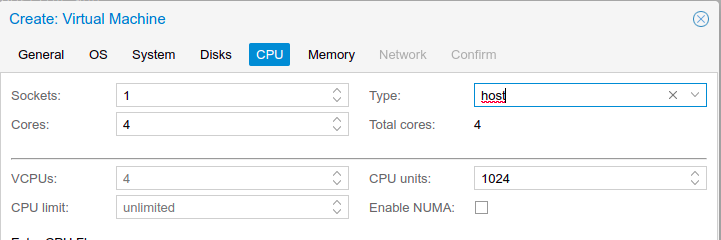
In "Cores", add 2 or 4 cores depending on your configuration and in "Type", change the default value "kvm64" to "host". The "host" mode allows direct access to the CPU without an abstraction layer. It's mandatory for Windows, because without host mode, many applications risk crashing.
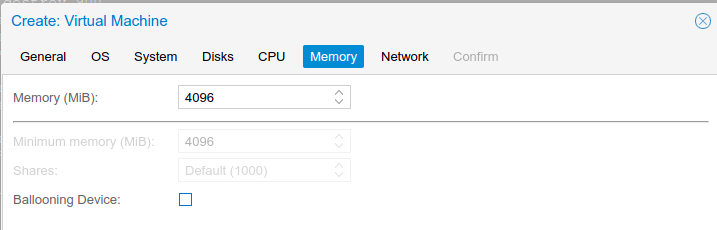
In "Memory", select 4096 Mib (4 GB of RAM). Prefer fixed memory without balloon for Windows, as this option is notorious for instability and performance problems (for Linux, dynamic memory poses no problems). See the link below for more information:
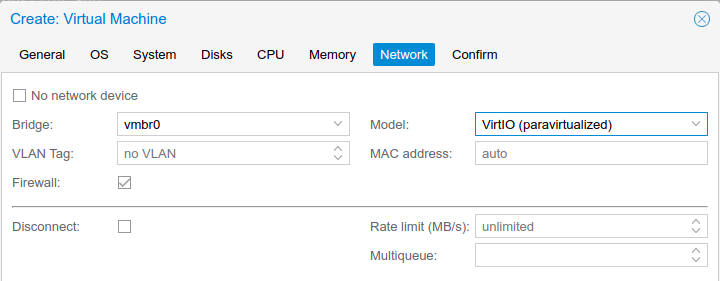
In "Model", select the VirtIO para-virtualization driver for the network card. The card will not be recognized by Windows by default, so we'll see how to install it beforehand.
By default, the server's firewall is activated and it is connected to the vmbr0 bridge (Proxmox VE's default bridge).
Confirm the configuration by clicking on "Finish".
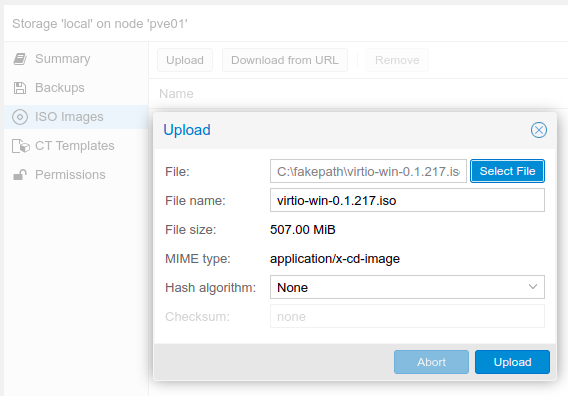
Next, download the image containing the VirtIo drivers from this address :
https://fedorapeople.org/groups/virt/virtio-win/direct-downloads/stable-virtio/virtio-win.iso
And like the Windows 11 ISO, add it to your server by going to Datacenter\localISO Images\Upload\Select File and click on "Upload".
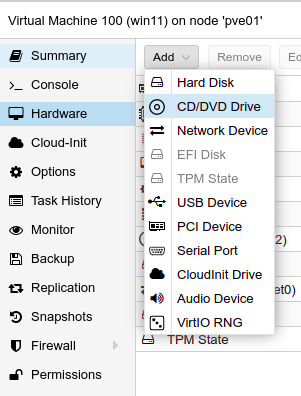
You'll also need to add a CD drive to mount the VirtIO drivers. Go to Hardware\Add\CD/DVD Drive.
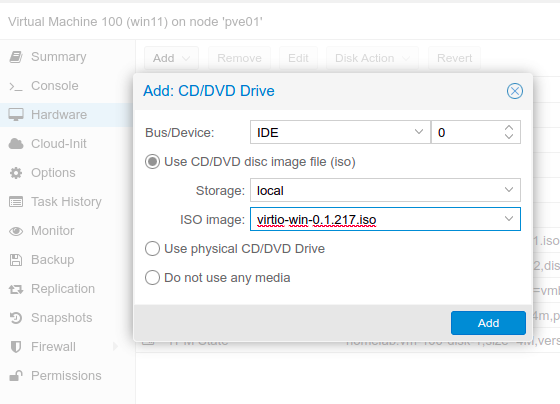
And select your storage location (local by default) and your VirtIO image.
We're finally ready. Are you ready ? Let's ROCK baby!!!!!

2-Installation
Start the virtual machine.
Press any key to start the DVD.

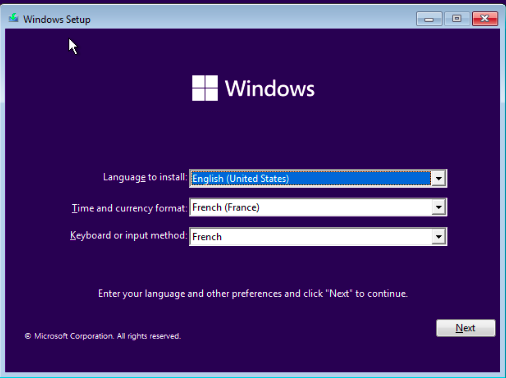
Select "English" as the language and "France" for the keyboard and clock. Get used to working systematically in English.
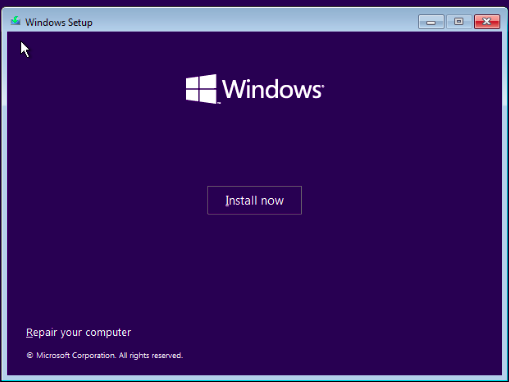
Click on "Install now".
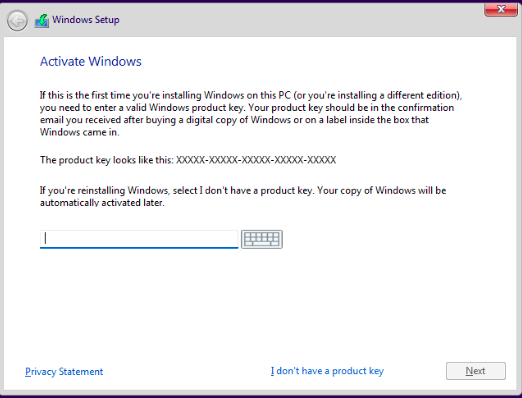
Activate your Windows license or click on "i don't have a product key".
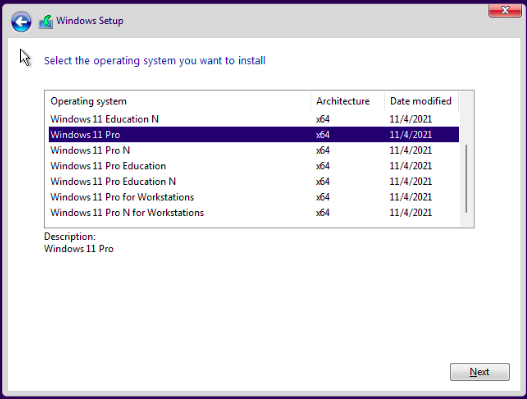
Select the version you want. I usually install the professional version for bitlocker, Hyper-V, RDP and other enterprise options. To find out more, click here:
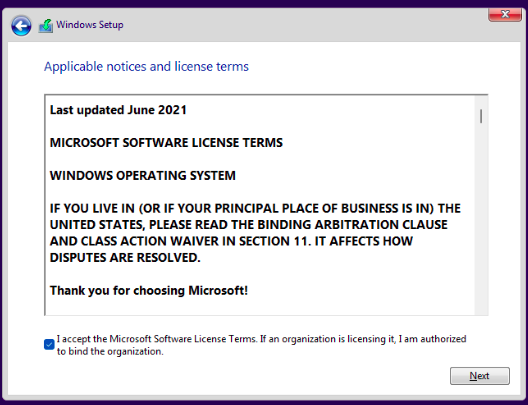
Accept the End-user license agreement (EULA).
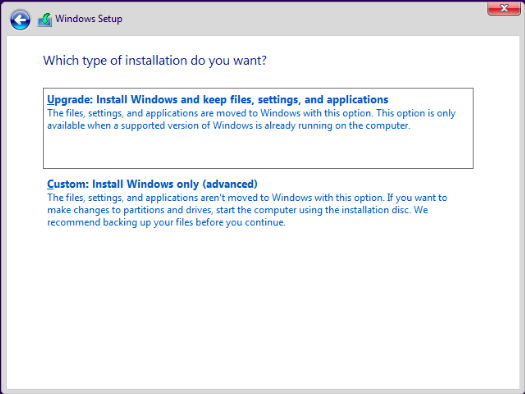
Click on "Windows custom installation only (advanced)".
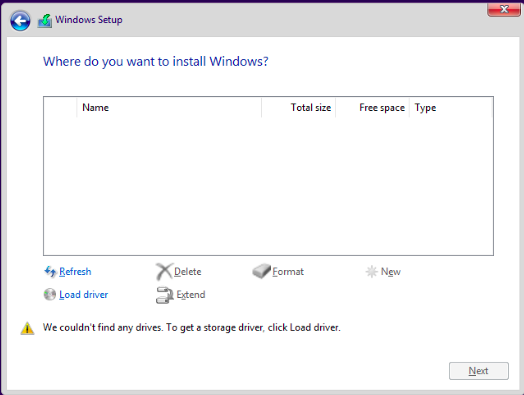
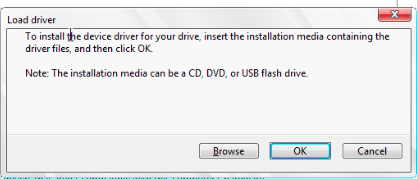
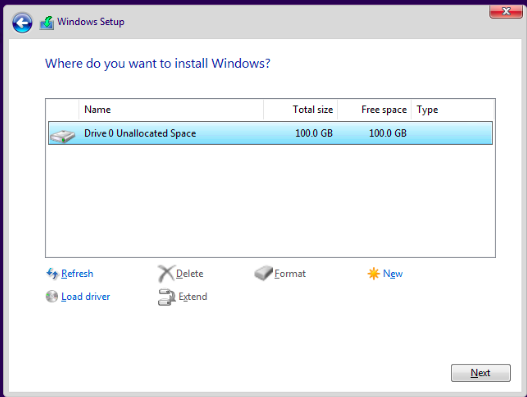
You will notice that storage is not recognized. This is normal, as you have chosen the SCSI bus/device under VirtIO, and Windows does not embed VirtIO drivers natively. So you'll need to install the storage driver via the second drive mounted in the virtual machine.
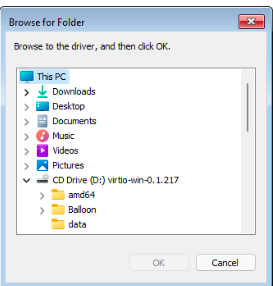
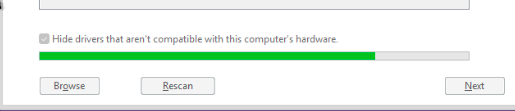
Click on "Load driver" then on "Browse".
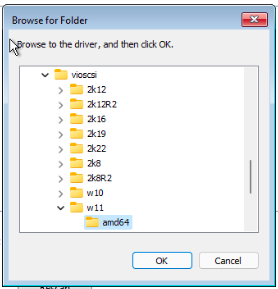
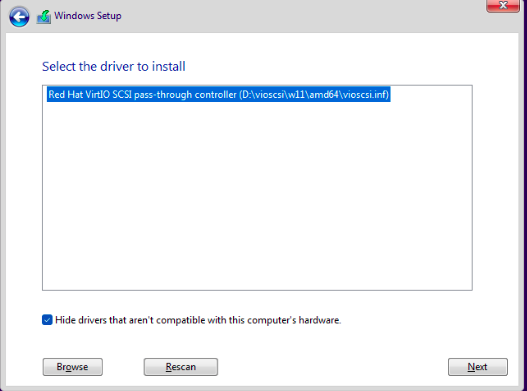
Navigate to the "D:\vioscsi\w11\amd64" folder in your CD drive and click "OK". This will load the driver.
Click "Next" to install the driver.
Finally, select the disk, create partitions if you wish, then click "Next".
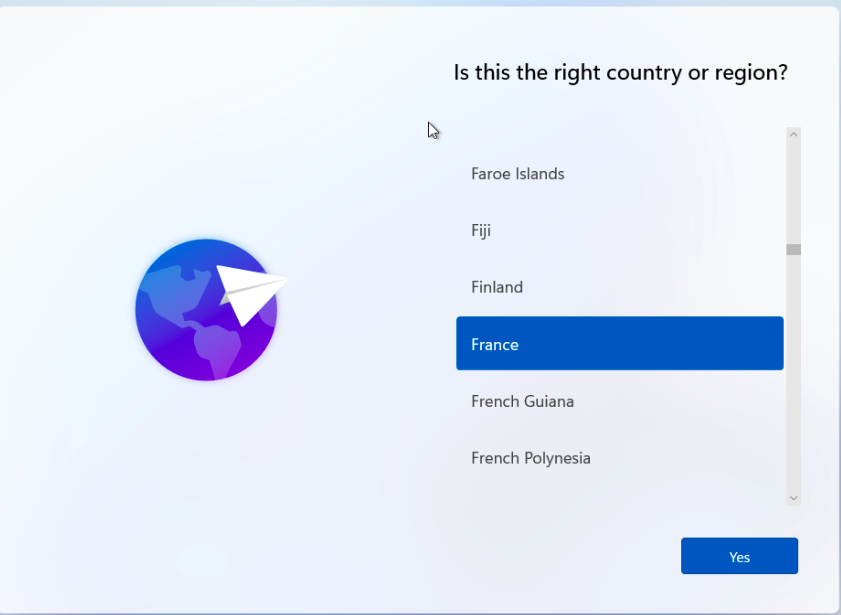
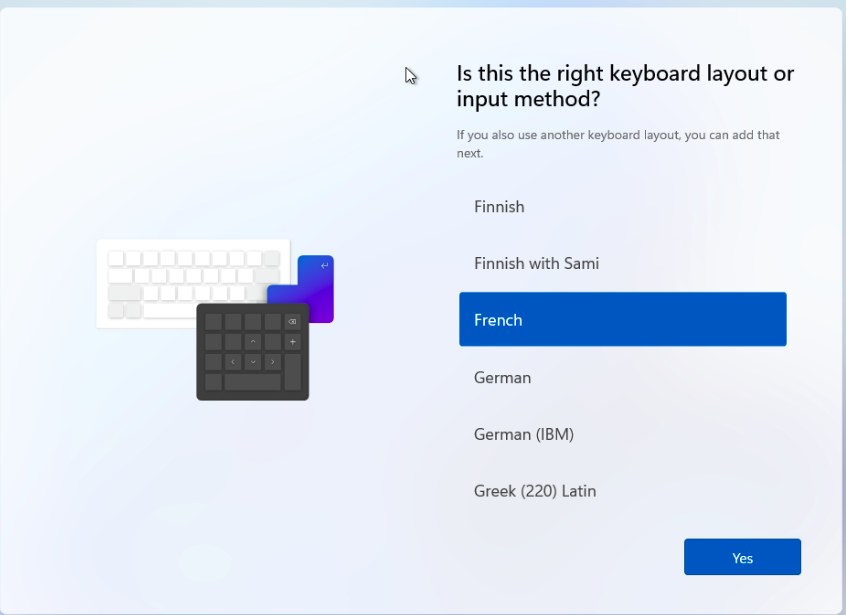
Once the virtual machine has restarted, on this screen select your country (France in my case), then on the next screen select "French" if you have an AZERTY keyboard.
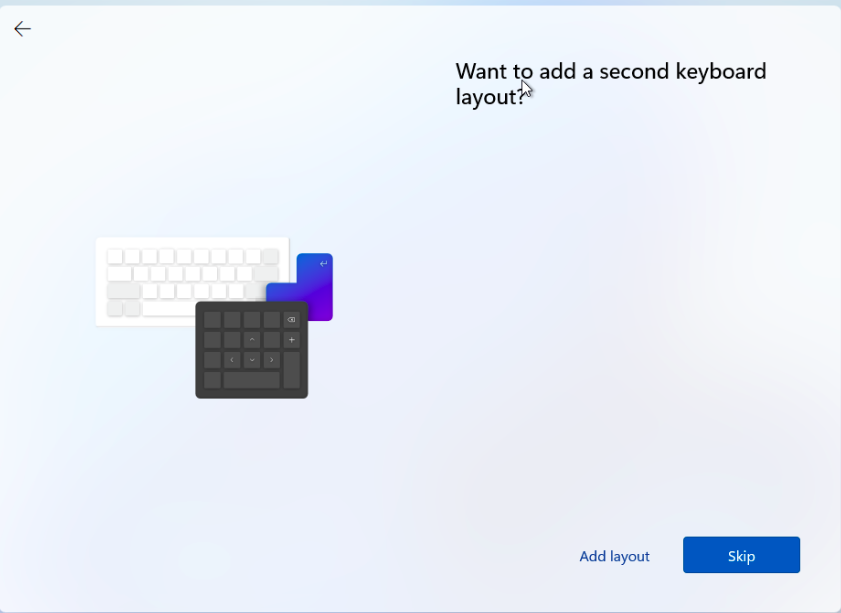
Skip this step (adding a second keyboard).
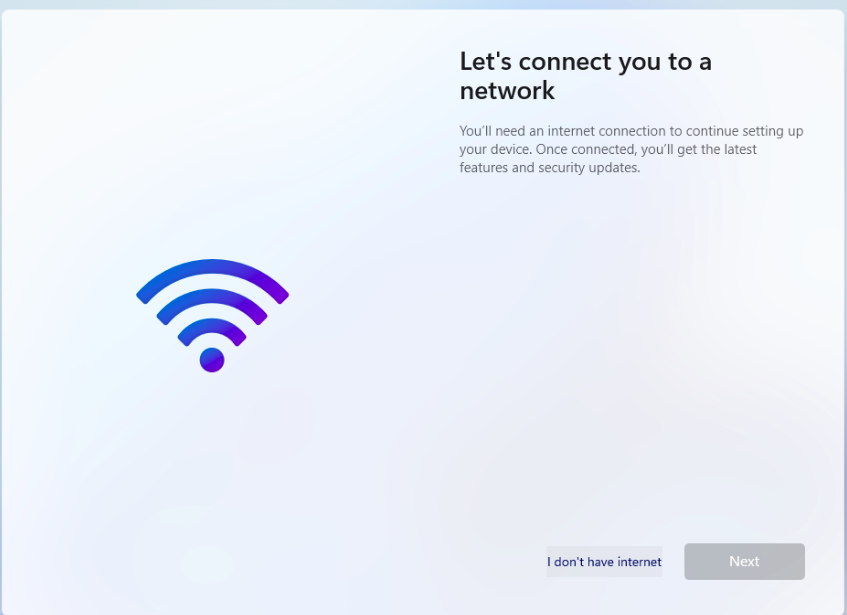
Click on "I don't have internet" to install the network driver later.
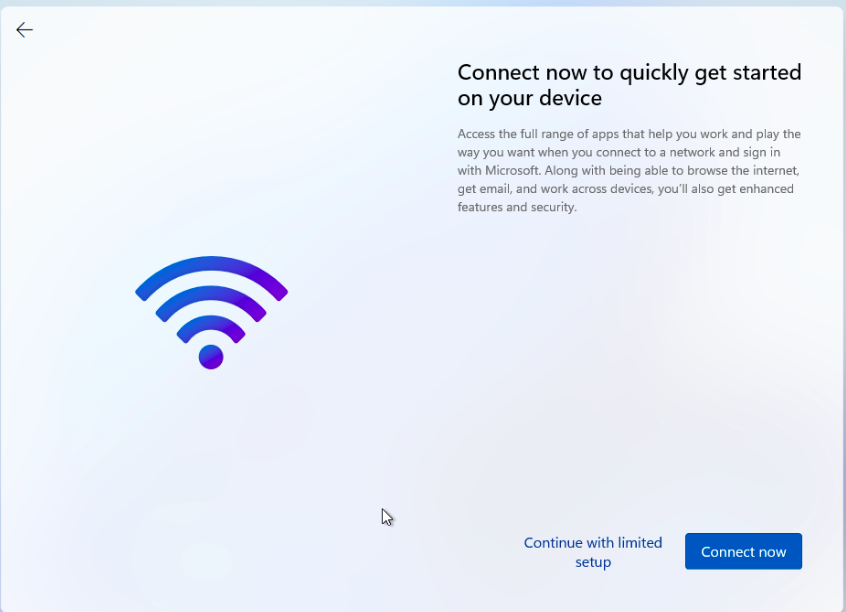
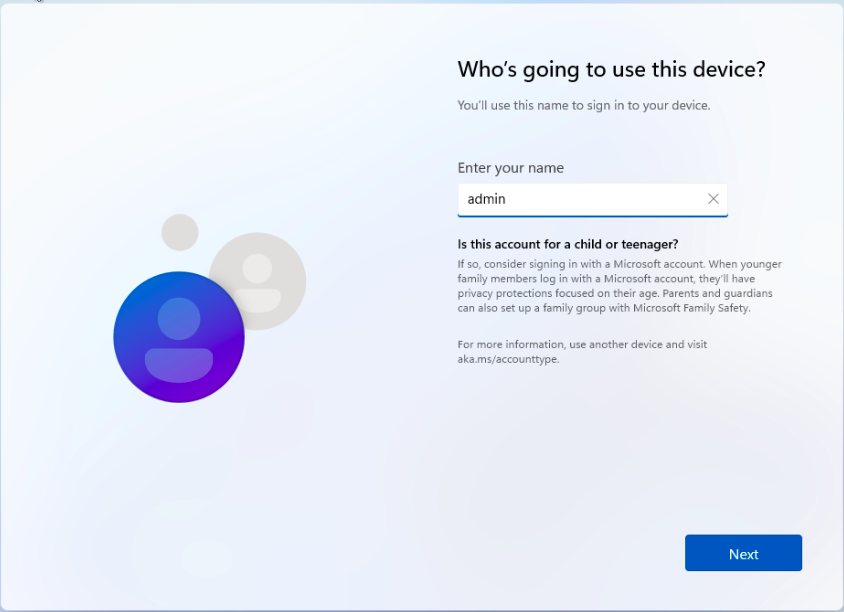
UPDATE (13/01/2023): Microsoft forces you to use an e-mail address to authenticate.
Click on "Continue with limited setup". Given the nest of spies that Windows has become since version 10, I advise you not to link your instance to a Microsoft account. This is just my opinion.
Instead, create an "admin" account with password and add the answers to the security questions.
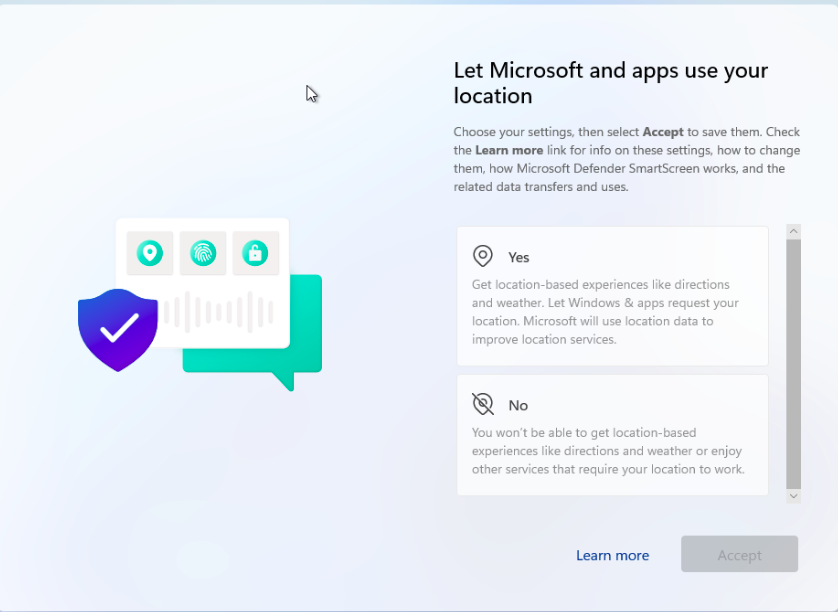
Always answer "no" to Microsoft's requests to access your personal data (even if it's pointless).
3-Post-installation
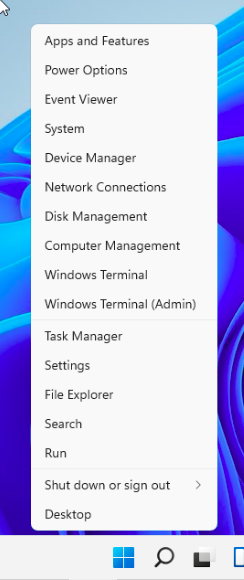
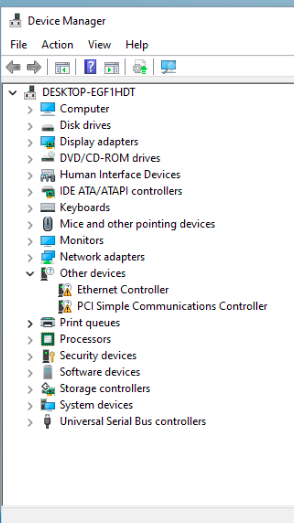
When you get to the desktop, go to "Device Manager".
You'll notice that two drivers are missing:
- Ethernet Controller
- PCI Device
You'll need to install 4 drivers:
- vioserial (PCI devices or PCI Simple Communication Controller)
- NetKVM (network card or Ethernet Controller)
- Balloon (ballooning)
- Qemu-Guest-Agent (link agent with Qemu emulator)
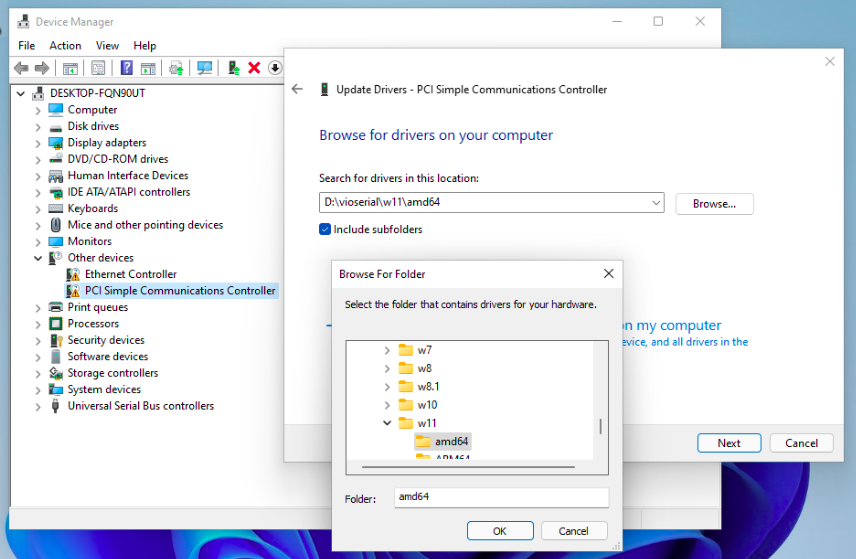
Start by installing the vioserial driver (PCI devices).
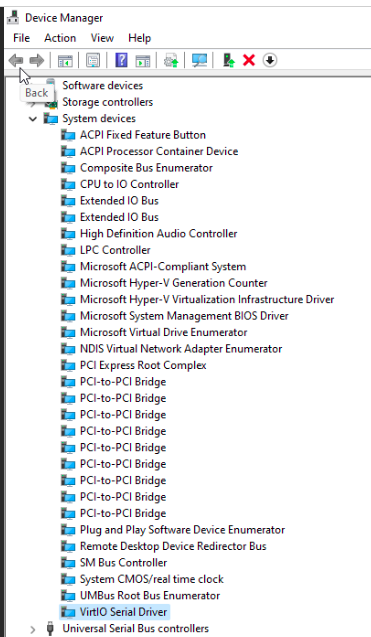
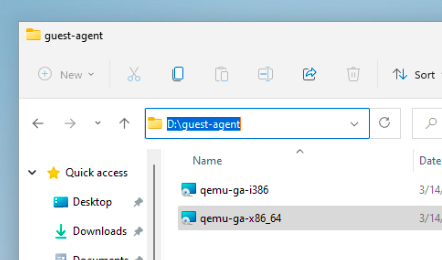
Next, install the Qemu agent. This will enable Proxmox VE to retrieve valuable information such as the IP address of your virtual machine. It can also receive instructions from the server, such as the "shutdown" and "reboot" commands.
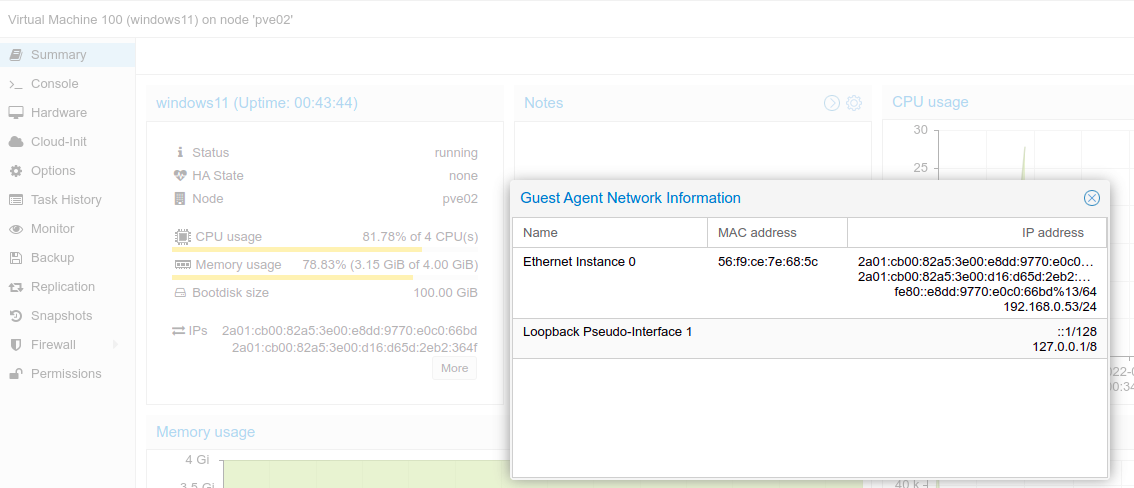
We can see that Qemu-guest-agent sends virtual machine information to the host server.
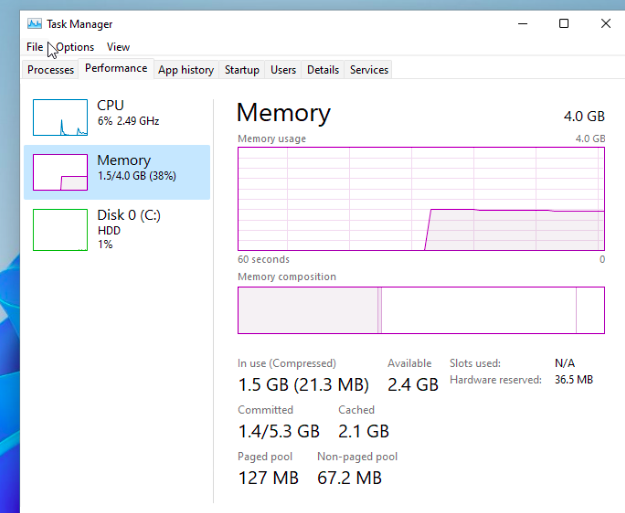
In "Task Manager", if the "SSD Emulation" option is not activated, the disk is recognized as an HDD (mechanical hard disk) and not as a flash memory SSD, which means that reads/writes are much more frequent and risks reducing the life of the physical disk.
The same applies to the "Ballooning" service we're about to install. We're at 1.5 GB RAM (increased to 1.7 GB after the screenshot).
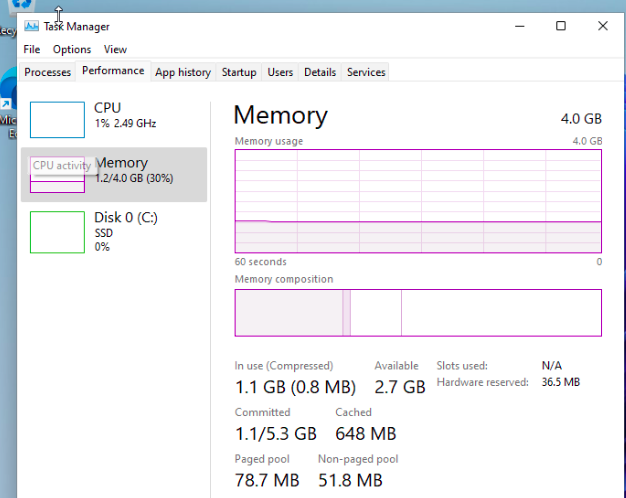
By activating the "SSD Emulation" option and installing the "Balloon Service", we can see that :
- The drive is now recognized as an SSD
- RAM has been reduced from 1.5/1.17 GB to 1.2 GB
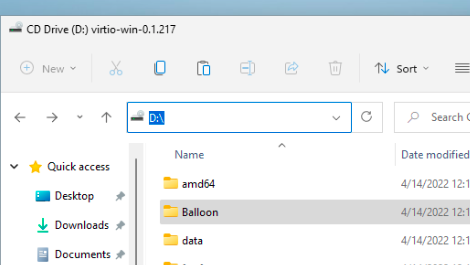
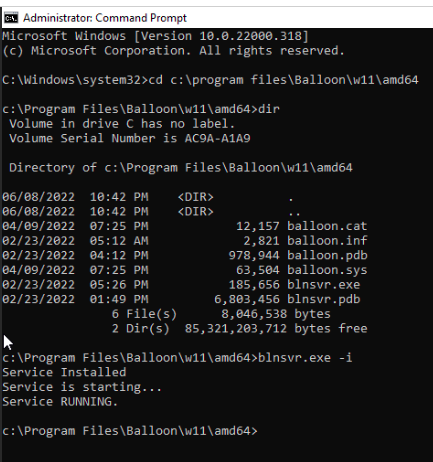
Let's pick up where we left off. Copy the "Balloon" folder to "C:\Program Files" and install the driver.
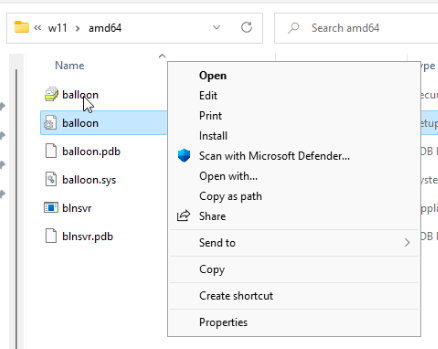
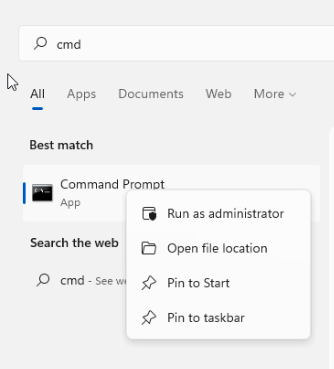
Finally, run "cmd" as administrator and install the "blnsvr.exe -i" service as shown in the photo below.
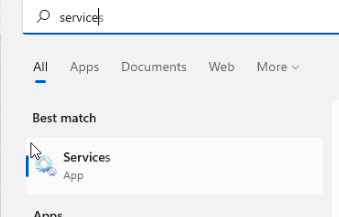
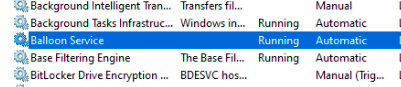
Go to "Service" and you'll see that the "Balloon Service" is enabled at every startup.
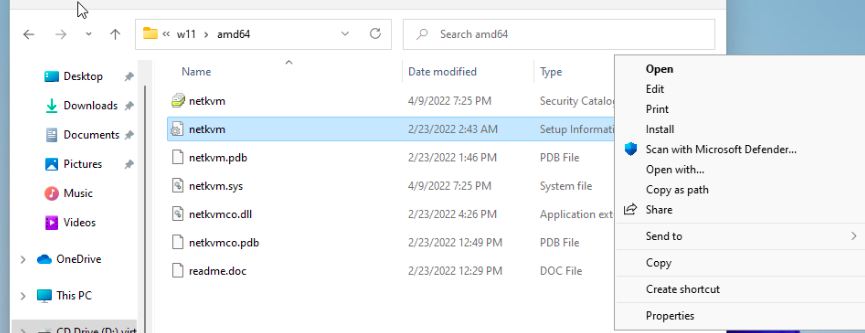
Finally, install NetKVM as shown in the screenshot below to activate the network card. You can also use Device Manager.
For those of you with a 10 Gbps network card, you're in for a treat. VirtIO supports it.
4-Optimizations
The basic configuration is sufficient, but if you want to go further, here are a few additional optimizations.
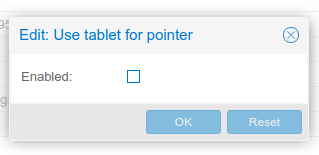
Disable Tablet mode
In Proxmox VE, consider disabling the virtual machine's "USB Tablet Device" option to reduce processor load (Zwindler talks about this in his article on pfSense):
Install OpenSSH Server
Since Windows 10, it's now possible to connect to the system via the SSH protocol just like on Linux (no need for Putty software) with native OpenSSH integration.
The advantage is that with Filezilla or any file browser on Linux, you can use the SFTP (File Transfer Protocol over SSH) protocol.
Whether local, through a VPN or over the public Internet (you'd have to be crazy to open port 22 on your box), you can transfer files using SSH protocol encryption (FTP has no encryption).
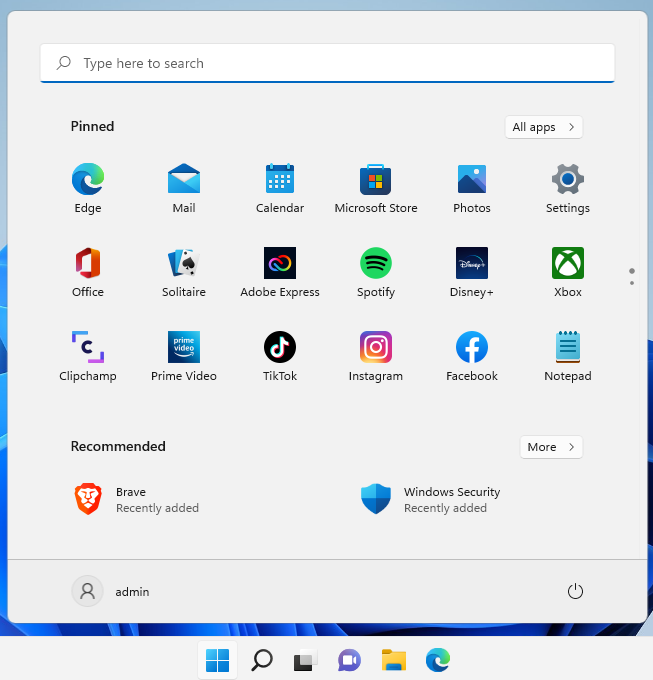
To install OpenSSH Server, go to the search bar and click on "Settings".
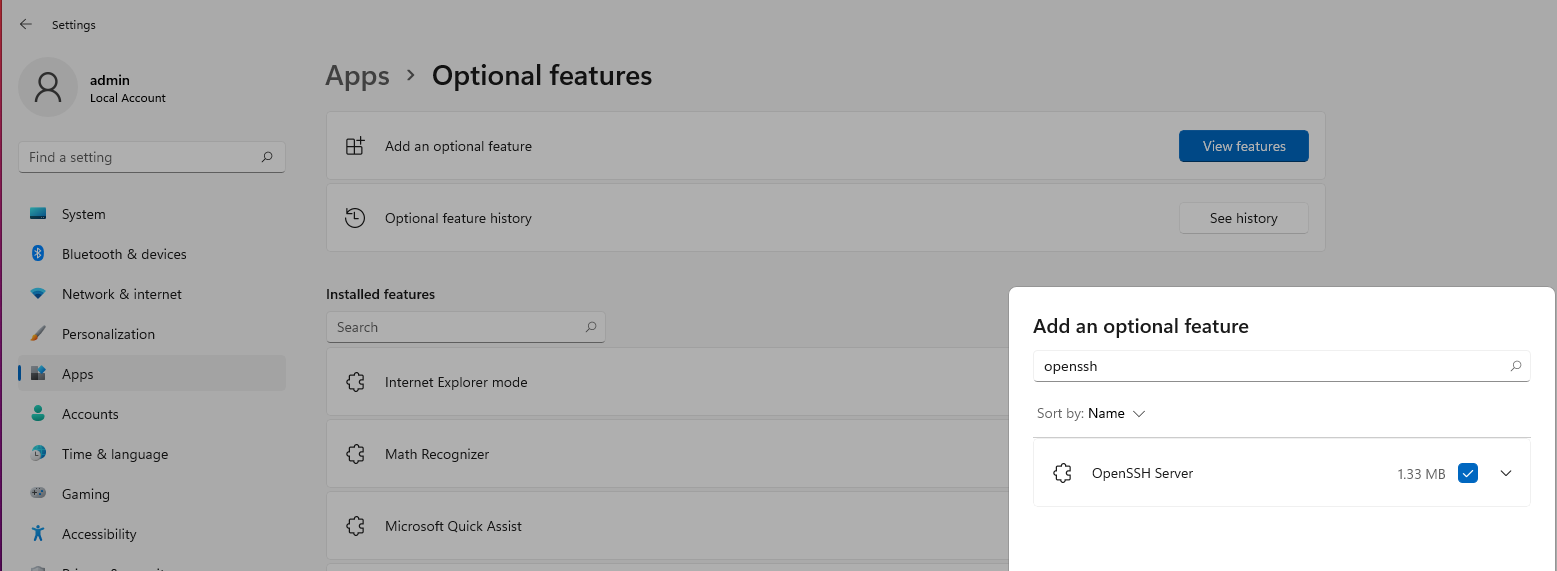
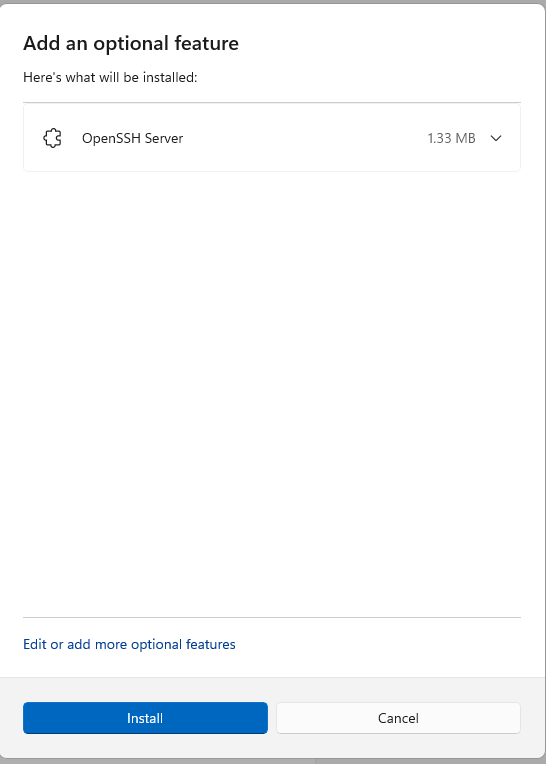
Click on Apps\Optional features and check the box to install OpenSSH Server.

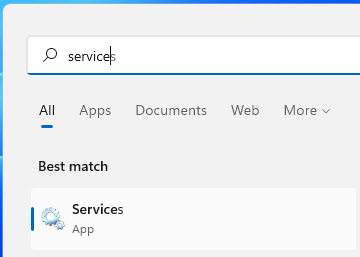
Finally, to activate the service on startup, go to "services".
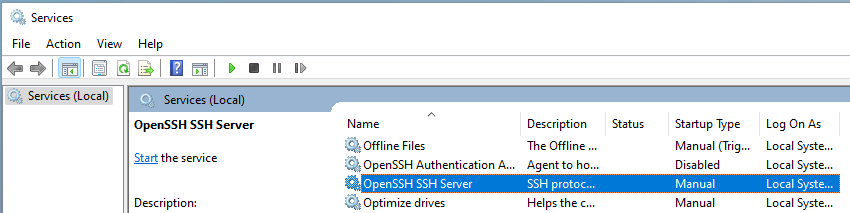
Locate the "OpenSSH SSH Server" service.
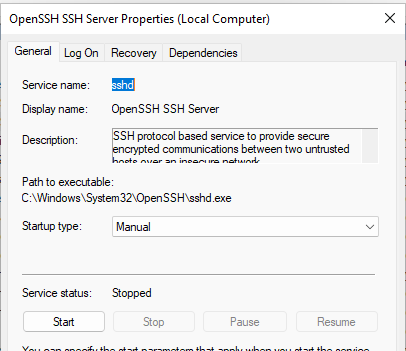
And in "Startup type", switch from "Manual" to "Automatic" mode, then click on "Start" to start the service each time it is started.

Launch "cmd" in the WIndows search bar and type "ipconfig /all" to find out your IP address (IPv4 Address).
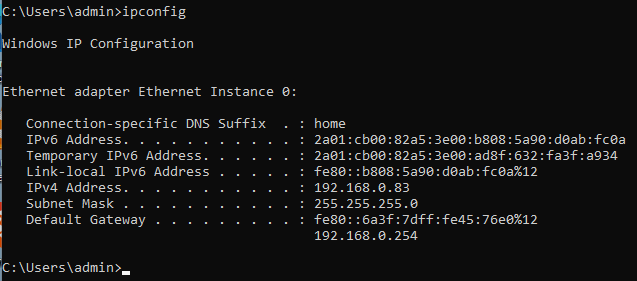
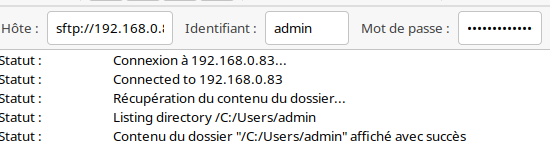
On the Filezilla client on your workstation, type :
- Host: sftp://ip-address (sftp://192.168.0.83 in the example)
- Login: admin (user account)
- Password: that of the "admin" account

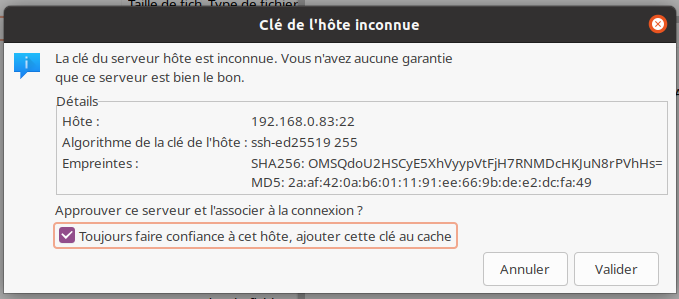
Check "Always trust this host, add this key to the cache" as this is the first time you've connected to it using SFTP.
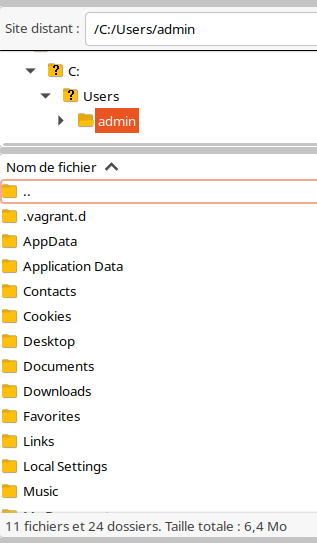
And admire the result!!!! Encrypted file transfers via the SFTP protocol are yours.
Winget
Winget (for Windows Package Manager) is nothing more and nothing less than a copy of the repository system that has been around for ages on Linux.
Winget includes just over 1,400 packages at the time of release of version 1.0 (2021).
Download the following link: https://github.com/microsoft/winget-cli/releases/download/v1.2.10271/Microsoft.DesktopAppInstaller_8wekyb3d8bbwe.msixbundle
 microsoft
Then click and install it using the Windows Store.
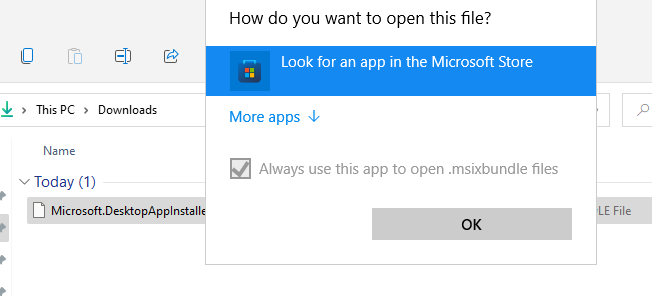
Click on "Get".

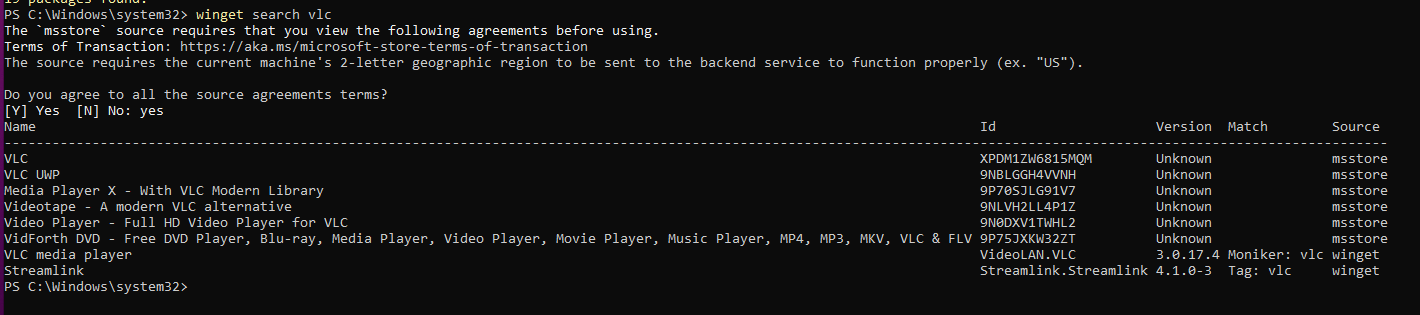
Winget is now available using the eponymous command in Powershell.
If I'm looking for VLC, for example, I can download it in standard (.exe) or UWP (Universal Windows Platform) format.
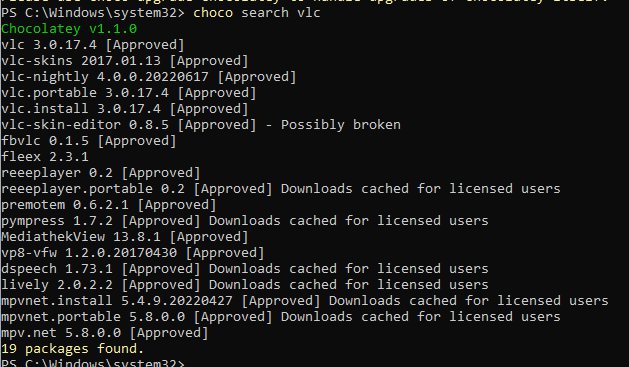
Chocolatey
If you want to go one step further, Chocolatey has a much larger application repository than Winget.

To install it, open Powershell as administrator and run the following command.
Set-ExecutionPolicy Bypass -Scope Process -Force; [System.Net.ServicePointManager]::SecurityProtocol = [System.Net.ServicePointManager]::SecurityProtocol -bor 3072; iex ((New-Object System.Net.WebClient).DownloadString('https://community.chocolatey.org/install.ps1'))If I'm looking for VLC, for example, I can download it as a standard version (.exe) or as a portable version.
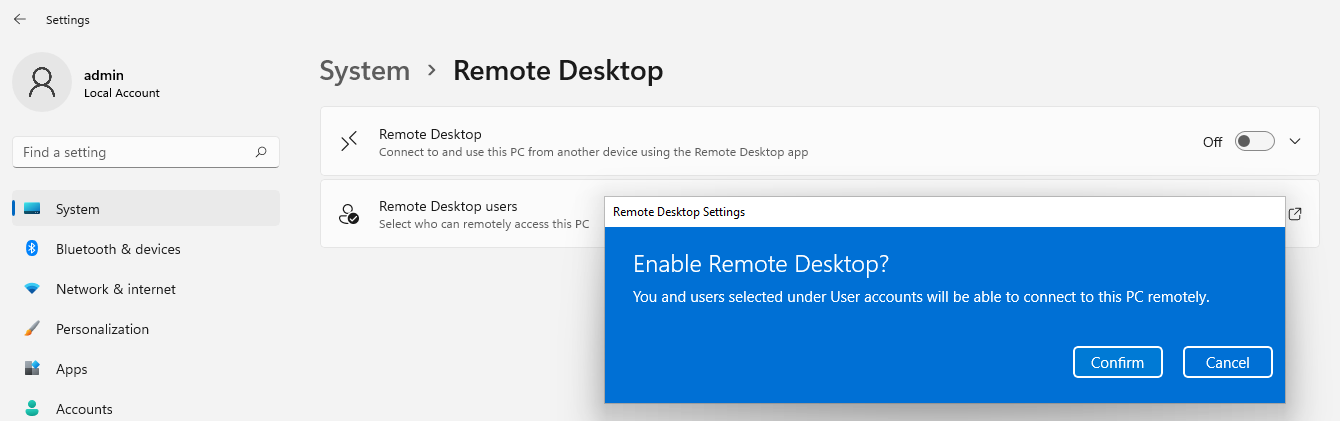
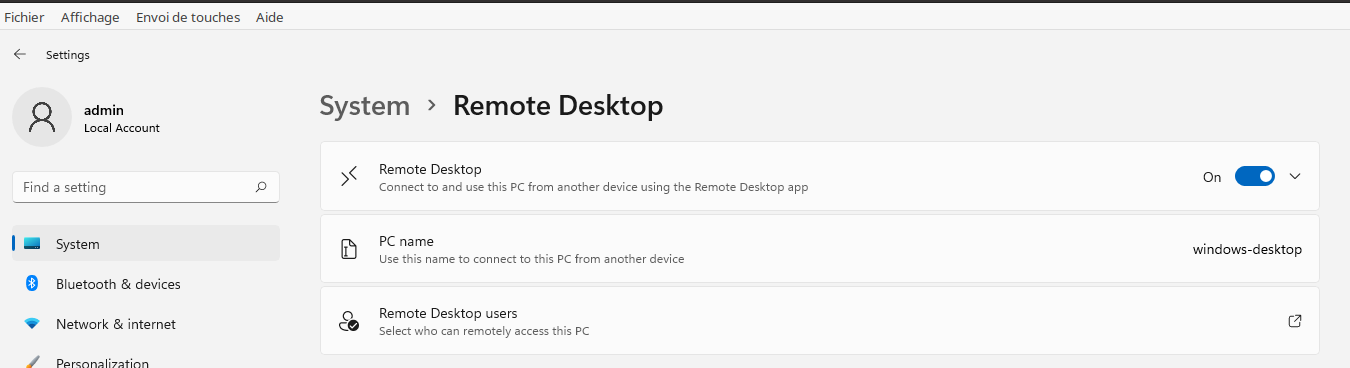
RDP (Remote Desktop Protocol)
- Go to Settings\System\Remote Desktop and click on "Off" to set it to "On",
- Click on "Confirm"
RDP is now enabled.
5-Create a template
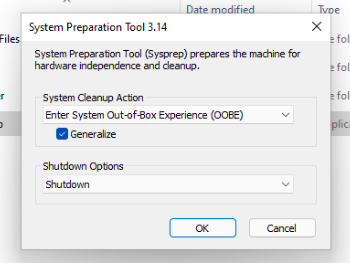
Once you've finished optimizing your system, you can run sysprep, which facilitates system cloning for mass deployment.
Go to "C:\Windows\System32\Sysprep" and click on "sysprep.exe". Check "Generalize" and choose the "Shutdown" option.
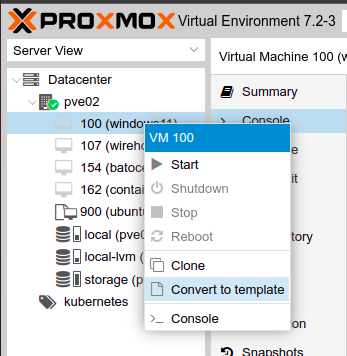
Then, in Proxmox VE, you transform your virtual machine into a template.
You can create two types of clone:
- A full clone
- A linked clone
The advantage of the linked clone is that it's suitable for homelab use and will enable you to run a variety of tests, especially as it consumes very little disk space since it will continue to write from the template.
As for the full clone, as its name suggests, it's a carbon copy of the original template, ideal for deploying a persistent instance.