Proxmox VE Step-by-Step Installation Guide
A step-by-step guide to install PVE on your server with the best settings


Contents :
- 1-What is Proxmox Virtual Environment?
- 2-Installation
- 3-Post-installation
1-What is Proxmox Virtual Environment?
Proxmox VE (let's call it PVE for simplicity's sake) is a container and virtual machine orchestration platform.
Currently running under Debian 12.5 (Bookworm), it can manage server clusters (up to 32 nodes) with load balancing and high availability.
In addition to being an orchestration platform, it is also an HCI (Hyperconverged Infrastructure) solution with software-defined technologies.
PVE offers a wide range of features, and is no match for ESXI, Hyper-V and Xen:
- KVM (Kernel-based Virtual Machine) and LXC (Linux Containers) support, with snapshots, backups and hot migrations
- Web-based administration
- Management of local (EXT3/4, ZFS, LVM, LVM-thin), remote (SMB, NFS) and distributed (GlusterFS, CephFS/RBD) files system
- Permission management (users, groups, pools)
- LDAP and Active Directory support
- Layer 2 and 3 network switches (Linux Bridge, OVS)
- Integrated firewall
2-Installation
PVE requires an Intel VT-d-compatible processor, 2 GB RAM (PVE alone consumes 1 GB) and a 32 GB hard disk (preferably an SSD).
This is the minimum configuration required. The most important thing to remember is that, being Debian-based, PVE has much broader hardware compatibility than other solutions such as ESXI.
Note that on older devices, PVE may not find certain drivers, such as the network card driver.
I've already encountered this on old Dell Optiplexes (755, 380) and the solution is to install Debian first, then install the PVE packages afterwards.
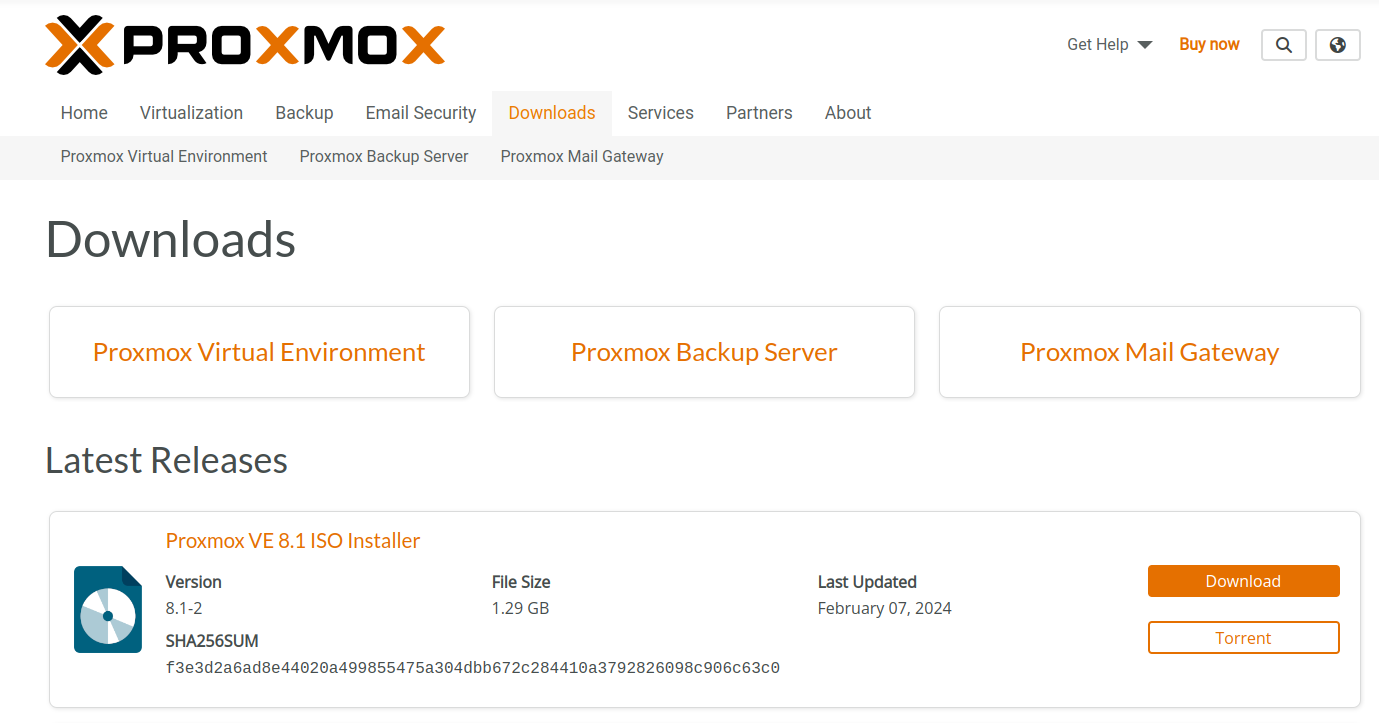
Start by downloading the ISO file (v8.1) from this page:

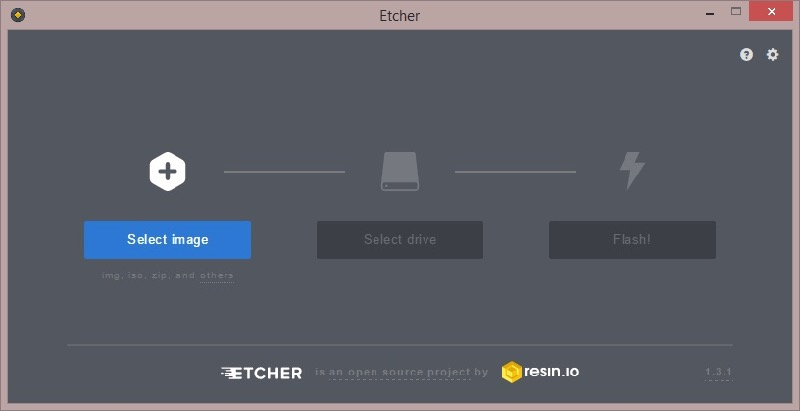
Then download the Etcher software to flash your USB key:

After installing Etcher :
- Run it
- Select the PVE ISO image (Select Storage) and your USB key (Select Storage)
- Then flash it
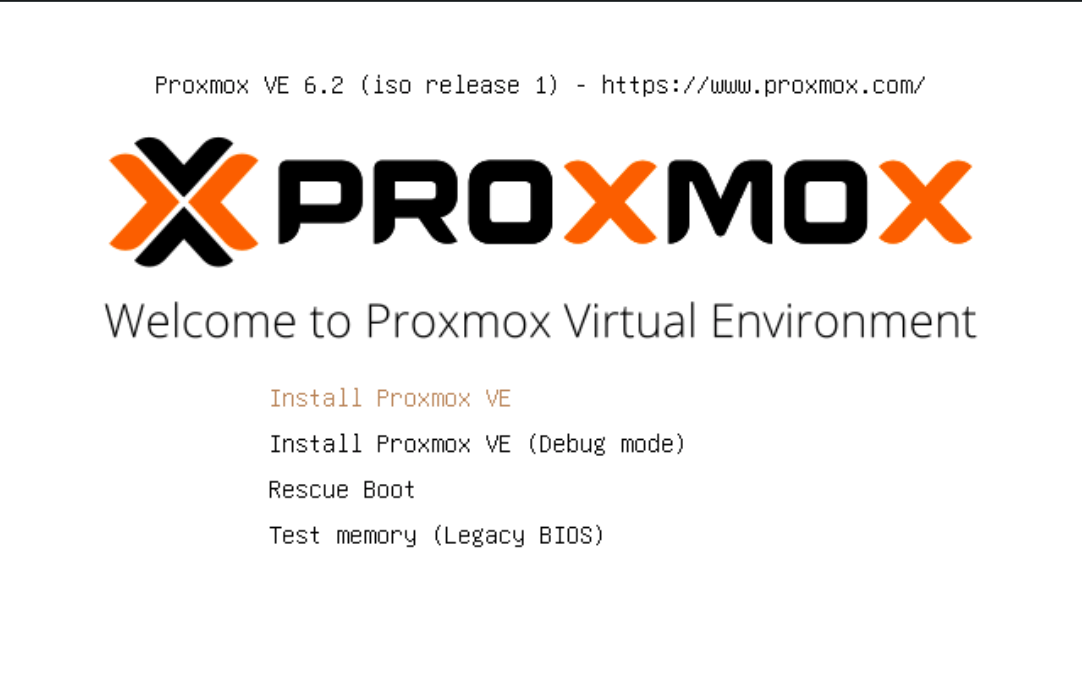
Connect the USB key to your server and start it. You should arrive on this page.
Remember to set your server bios to "Legacy".
Select "Install Proxmox VE" and validate the AGPL license.

You're about to enter the disk partitioning phase. If you don't want the hassle, click on Next, but I strongly advise you to click on "Options" and partition your disk yourself.
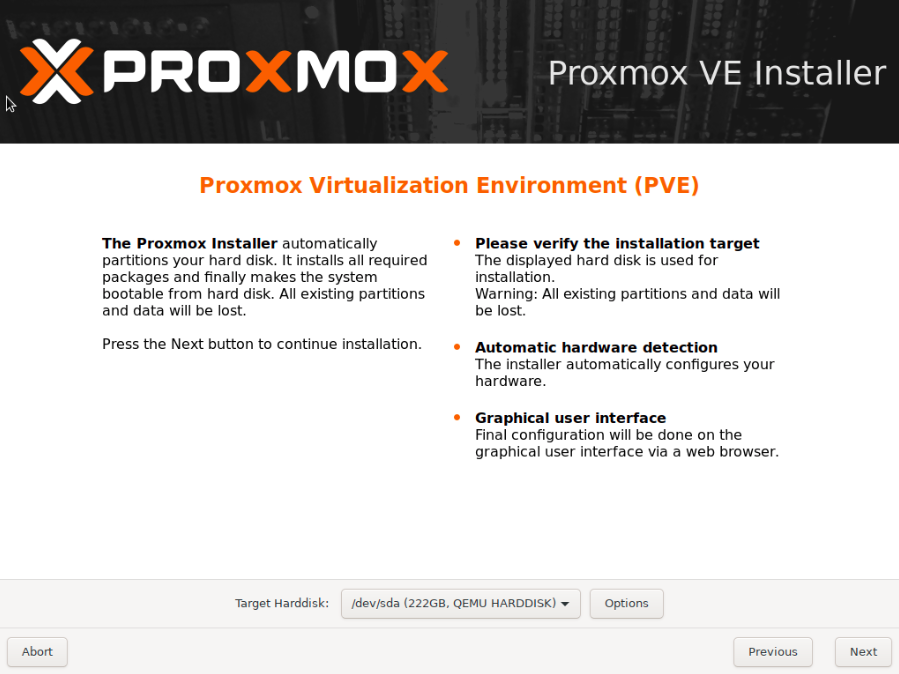
PVE offers different file systems (ZFS, ext3/4). For a basic installation, choose ext4 by default.
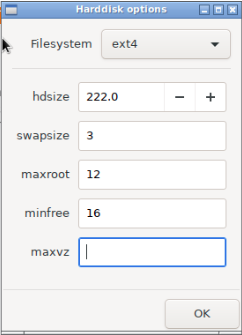
You can let PVE automatically partition the disk, but I strongly advise you to do it yourself. As an example, here are the values I would choose for a 240 GB disk:
- swapsize - 3 GB swap in case of RAM saturation
- maxroot (root partition) - PVE system files will be installed in this partition. 12 GB is more than enough, especially if you have a NAS or NFS share for ISO images and backups.
- minfree - I reserve 1/8 of the disk space if the disk is smaller than 128 GB or 16 GB if the disk is larger than 128 GB. In my case, it will be 16 GB.
- maxvz (LVM-Thin) - This is the logical volume, where virtual machines and containers will be stored. PVE will do the calculation itself if you've already entered the first 3 values.
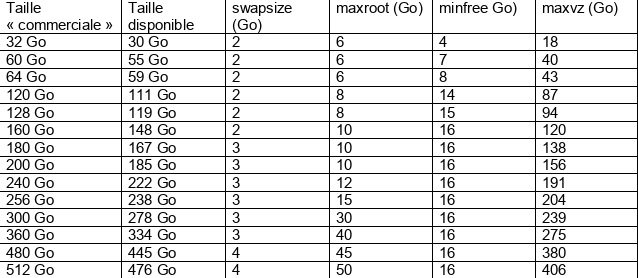
Here's a table summarizing the values I'd recommend according to disk size (thanks to touteladomotique website). ISO images and backups should be stored on a NAS or NFS share. As I don't have a NAS, I use my server's 8 TB hard disk to store these items.
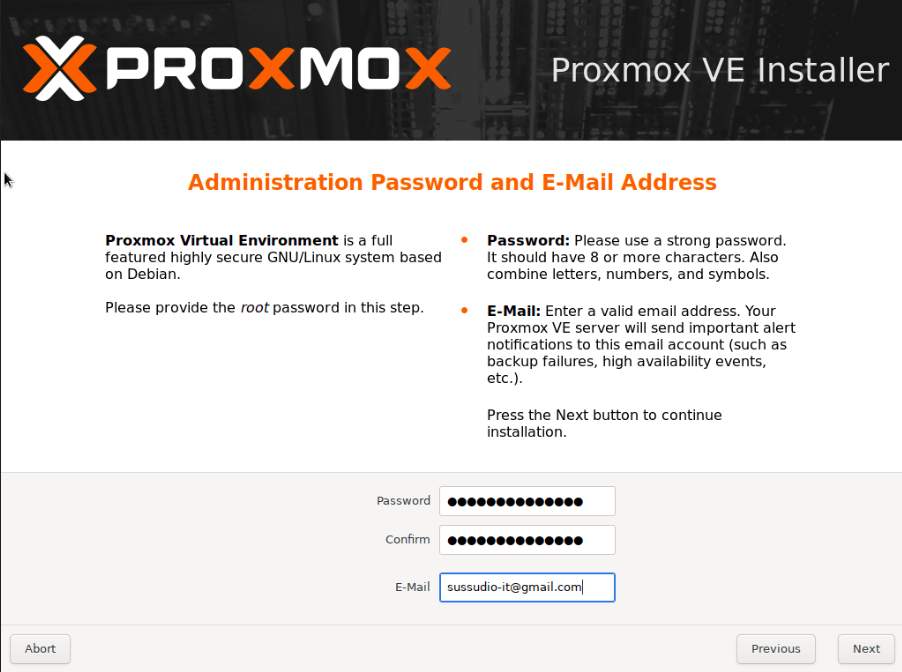
Choose country, language, keyboard layout, a complex password and enter your e-mail address (useful for receiving notifications).

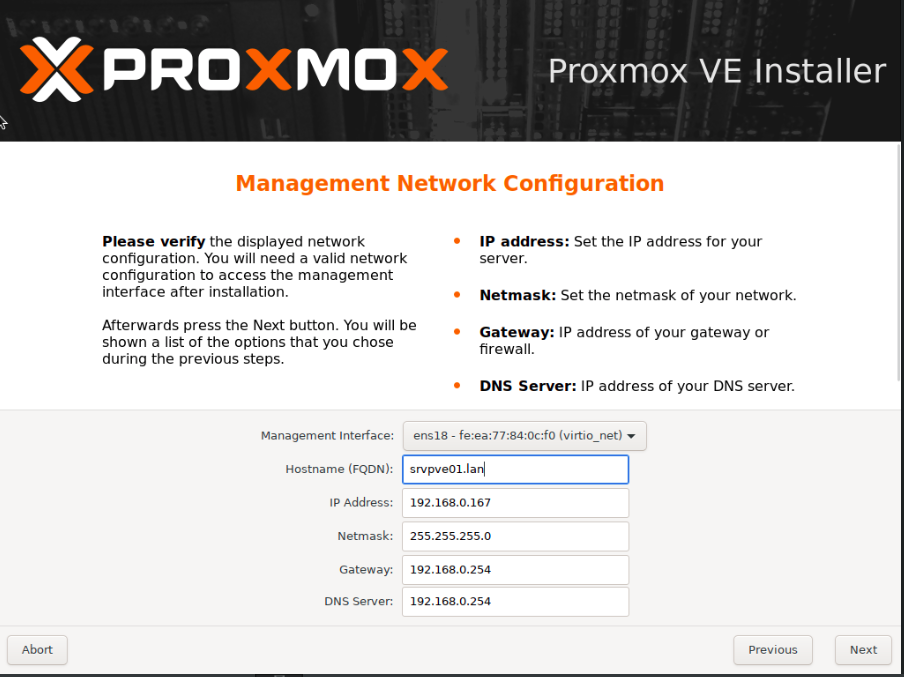
Choose a fixed IP address and check the subnet mask, gateway and DNS. In general, the DNS corresponds to the gateway if you have a home box.
For hostname, choose a consistent name, especially if you want to build a cluster.
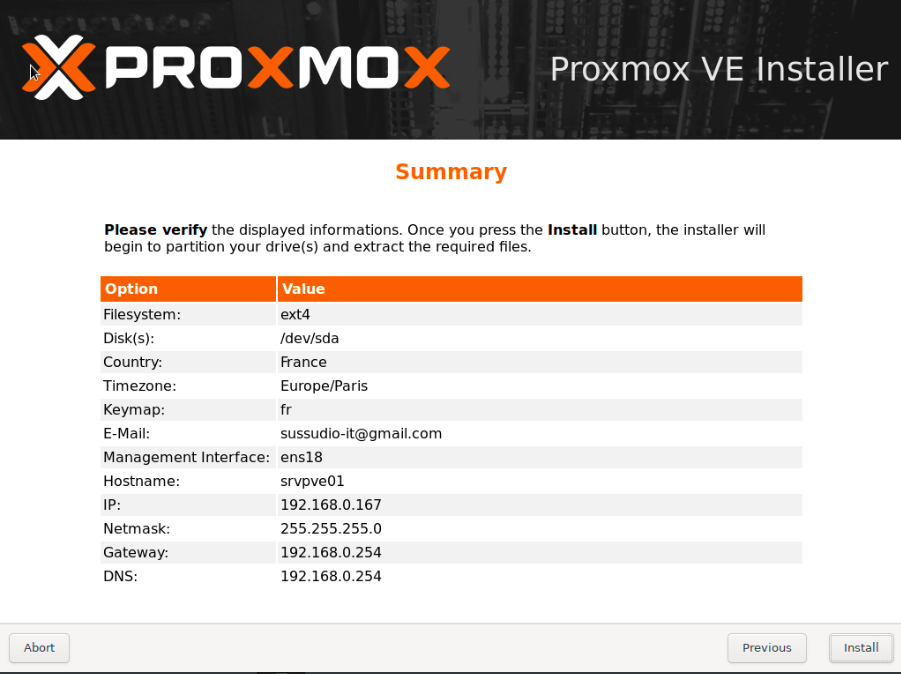
Check that all the information is correct, then launch the installation.
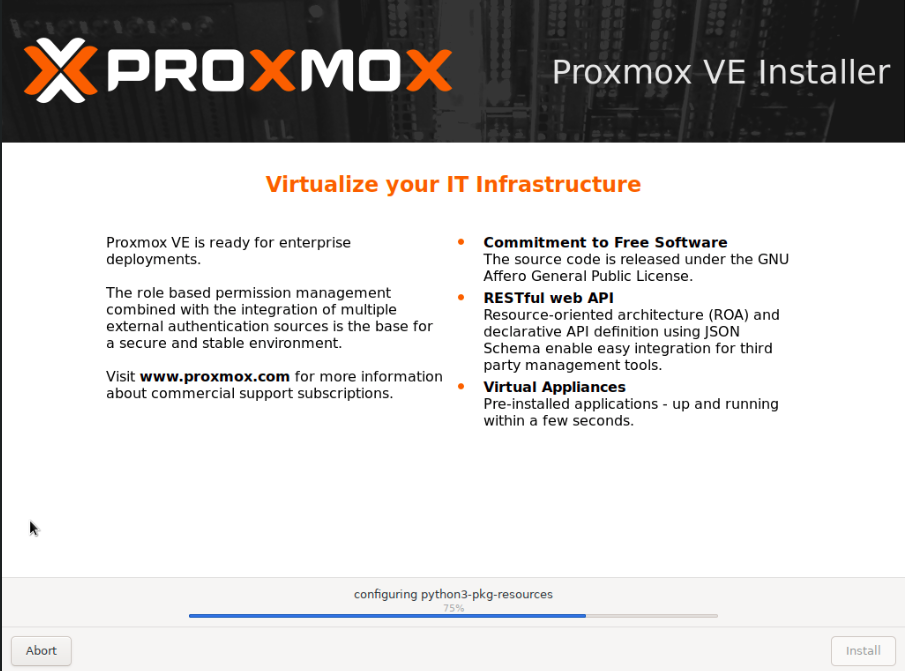
Wait a few minutes for PVE to install, then restart the server.
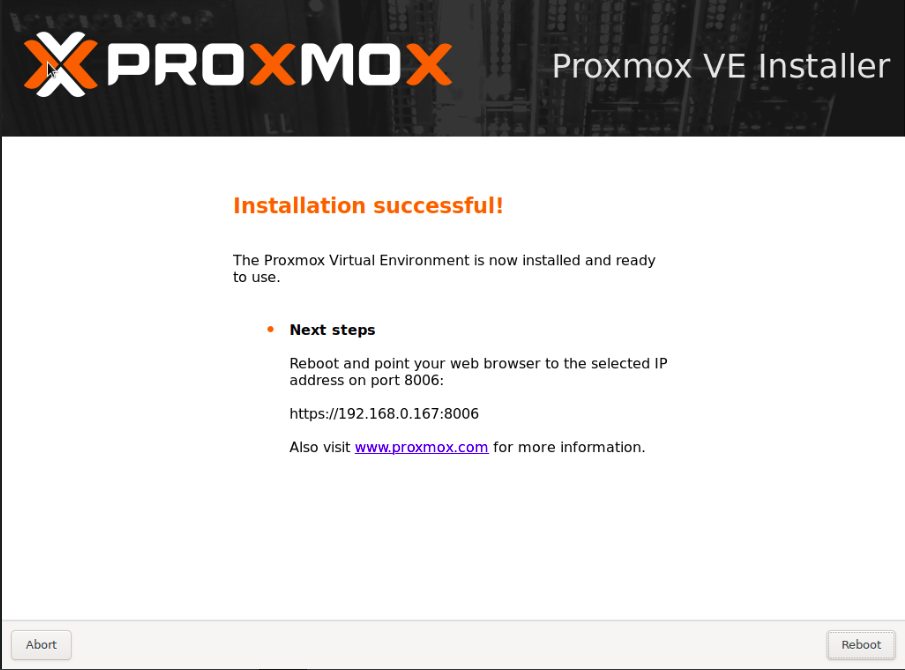
The IP address for connection is :
Here's a preview of the web interface below.
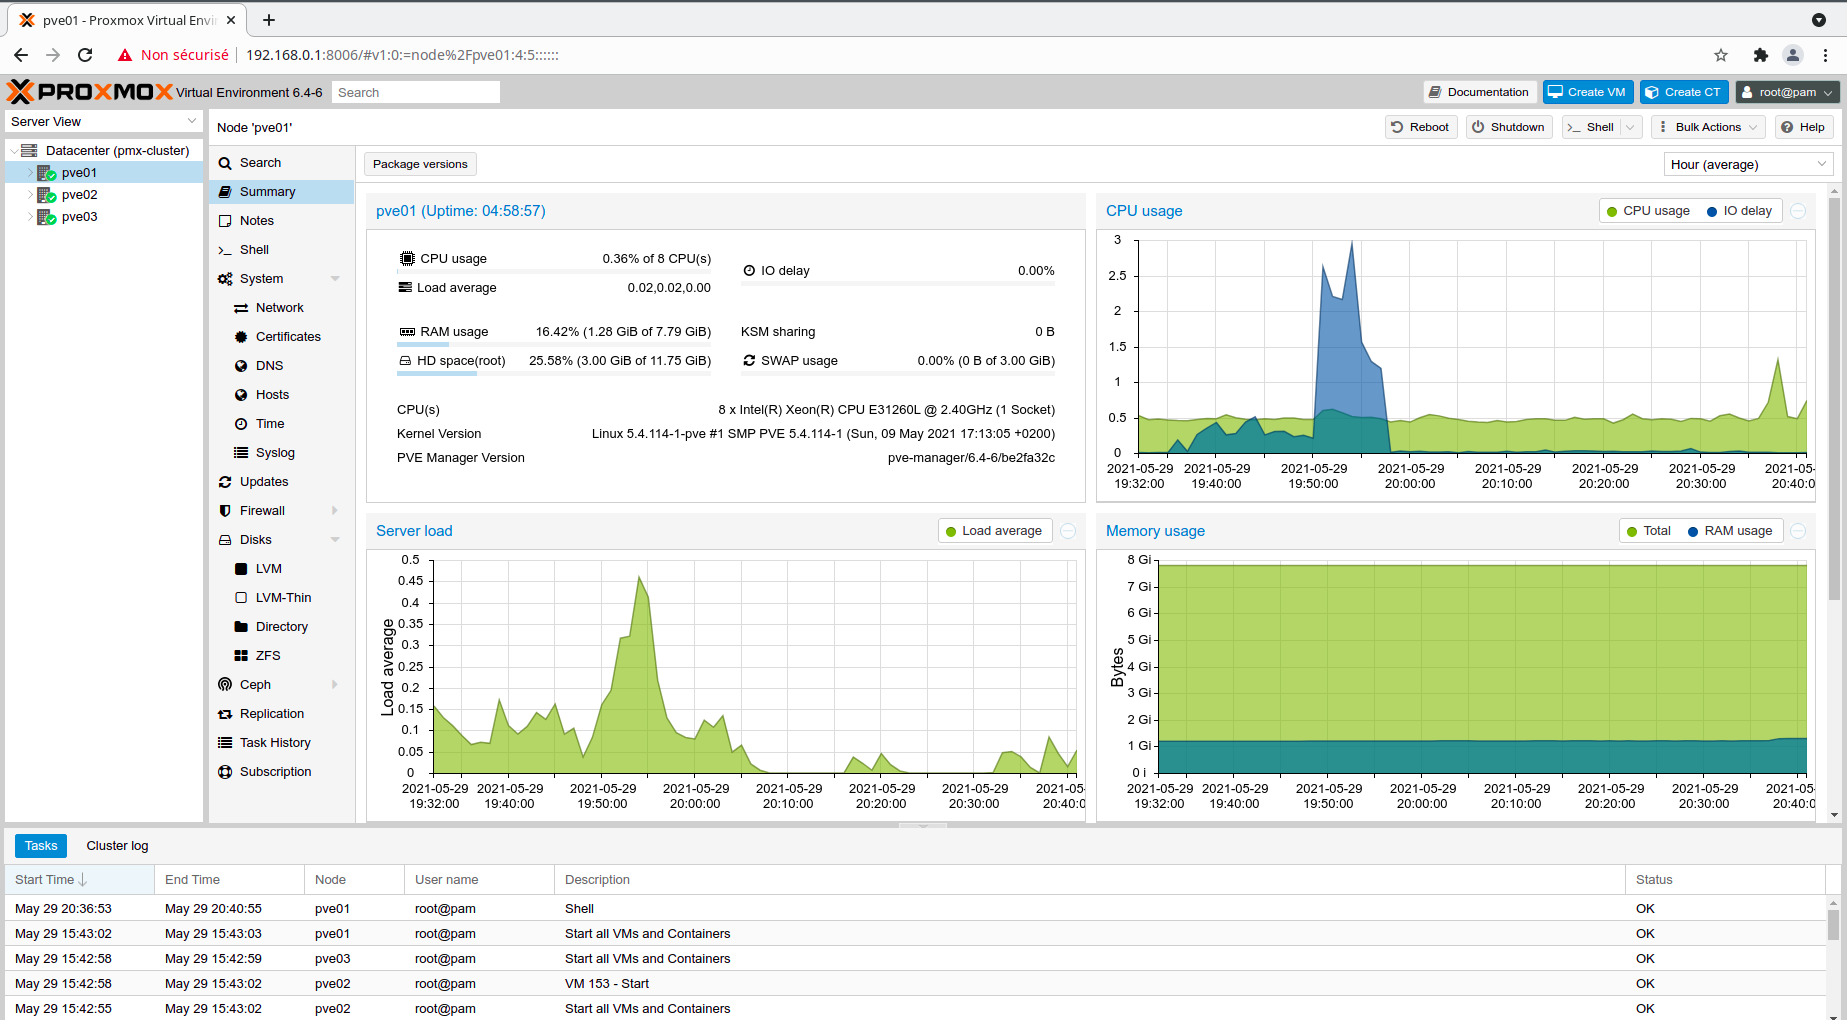
For the moment this is just a warm-up, so don't get too excited.

In Chapter 3 "Post-Installation", we'll look at how to :
- Add the free repository
- Install packages for everyday use
- Enable nested virtualization
3-Post-installation
One of the first things to do is remove the enterprise repository, add the free repository and then update and install the updates.
Open the terminal from the web interface.
Then open the "sources.list" file.
nano /etc/apt/sources.listType the following 3 lines to add the free repository.
echo "# PVE pve-no-subscription repository provided by proxmox.com," >> /etc/apt/sources.list echo "# NOT recommended for production use" >> /etc/apt/sources.list echo "deb http://download.proxmox.com/debian/pve bookworm pve-no-subscription" >> /etc/apt/sources.listDelete the enterprise and ceph repository and
rm -f /etc/apt/sources.list.d/pve-enterprise.list
rm -f /etc/apt/sources.list.d/ceph.list
Finally, update and upgrade the packages.
apt update && apt upgrade -yCongratulations! Your system is now up to date.
Next, here's the list of applications to install on your server.
The ones I recommend are :
- ifupdown2: allows you to update network settings with the web interface.
- fail2ban: security tool for blocking unwanted connections. More on this in a future article,
- git - no need to introduce it,
- vim: alternative to nano, with more options,
- apt-transport-https: manages server and client authentication using certificates,
- htop: a must-have monitoring tool.
Optional :
- openvswitch-switch: alternative to Linux Bridge,
- libpve-network-perl1: creates virtual networks between physical servers. Still experimental: https: //pve.proxmox.com/pve-docs/chapter-pvesdn.html
apt install \ openvswitch-switch \ ifupdown2 \ libpve-network-perl \ fail2ban \ git \ htop \ vim \ apt-transport-https -yNested virtualization allows you to create a virtual machine within a virtual machine.

I use this feature to test other hypervisors such as ESXI, Hyper-V or Xen.
In short, it's useful for development, but not recommended for production. Also, bear in mind that performance will be lower than that of a standard virtual machine.
Create the "kvm-intel-conf" file.
touch /etc/modprobe.d/kvm-intel.confThen add the following line to the file.
echo "options kvm-intel nested=Y" > /etc/modprobe.d/kvm-intel.confFinally, reload the kernel.
modprobe kvm_intelFinally, check that the mode is enabled.
cat /sys/module/kvm_intel/parameters/nestedIf it displays "Y", it's enabled.
If you like my contents, follow me on:
- Discord: https://discord.gg/nhQzEDSx7x
- Instagram: https://www.instagram.com/technonagib/
- Reddit: https://www.reddit.com/r/technonagib/
- Twitter: https://twitter.com/technonagib