Configure SPICE on Proxmox VE
We'll look at how to install and configure the SPICE remote display protocol on Proxmox VE and a Windows virtual machine.


Contents :
- 1-What is SPICE?
- 2-The features
- 3-Activating options
- 4-Driver installation
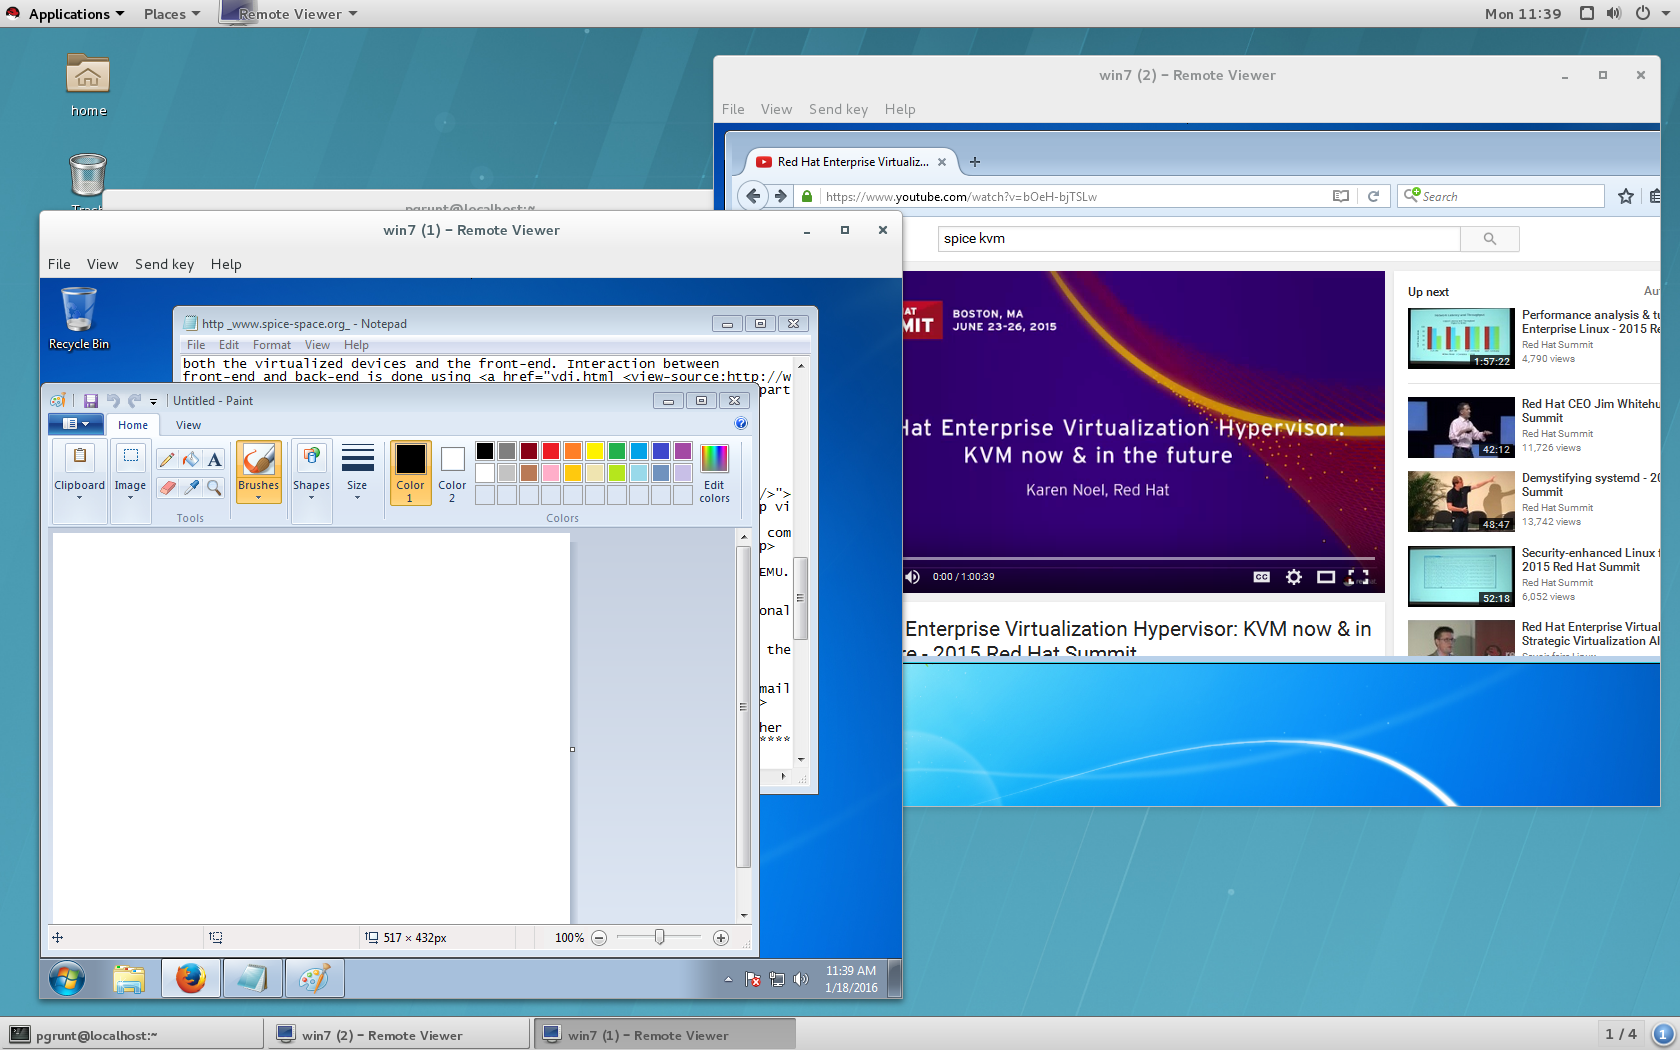
- 5-Installing the Virt-Viewer client
1-What's SPICE?
SPICE (Simple Protocol for Independent Computing Environments) is an open-source remote display protocol originally developed by Qumranet (creator of KVM) that enables remote control of virtual machines.
It is designed for client/server architecture.
Following Red Hat's acquisition of Qumranet in 2008, the originally closed code was released under an open-source license.
This is one of the display protocols offered by Proxmox VE with NoVNC.

2-Features
It enables 4 things in particular:
- Display video (logical) from a dedicated driver (Red Hat QXL controller)
- Transmit sound from host server audio devices
- Transfer files (drag'n drop)
- Connect USB peripherals from your client workstation,

It's an excellent alternative to the Windows RDP protocol. In the Linux world, it's the best there is.
Its only drawback is that it cannot be displayed via a web browser.
Now let's see how to install it.
3-Activating options
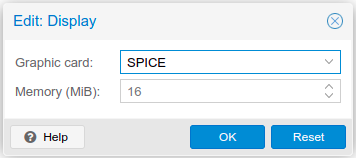
Start by enabling your virtual machine's SPICE options.
In Hardware\Display\Graphic card, select SPICE in "Graphic card".
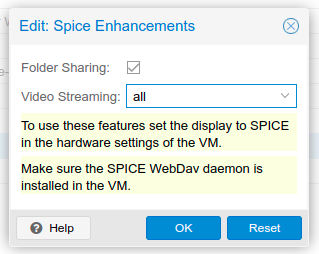
Then, in "Options", go to "spice_enhancement" and enable file sharing (drag' drop) as well as video encoding by setting it to "all".
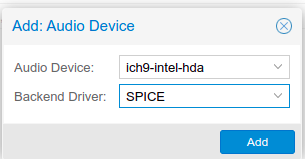
Finally, add the audio device. I choose "ich9-intel-hda" (hda for High Definition Audio), which is the motherboard's audio driver.
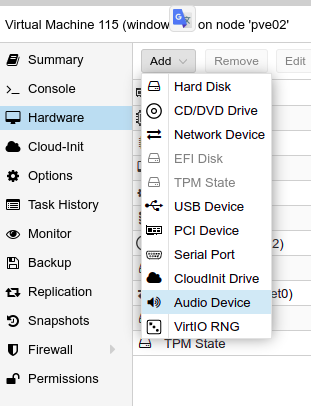
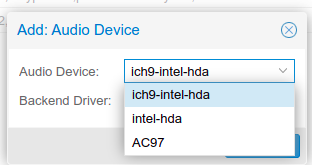
Leave SPICE as the default backend.
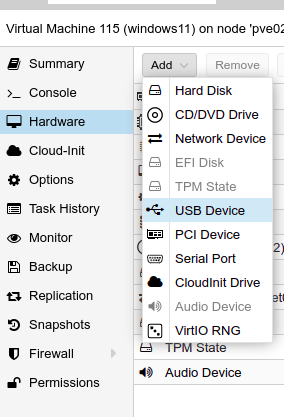
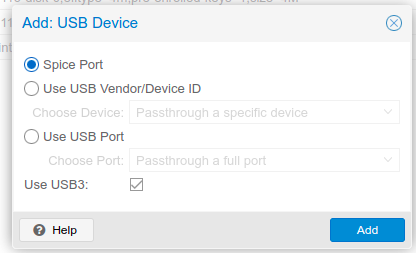
Finally, go to "USB Device" and add the "SPICE Port" option.
We've finished configuring the options.
Now let's take a look at the "Red Hat QXL Controller" display driver.
4-Driver installation
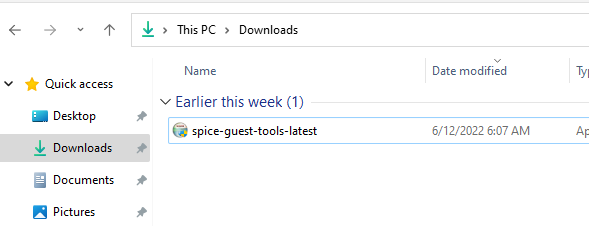
The driver is automatically installed in Linux distributions, but you need to install it on Windows by downloading it from the following link:
https://www.spice-space.org/download/windows/spice-guest-tools/spice-guest-tools-latest.exe
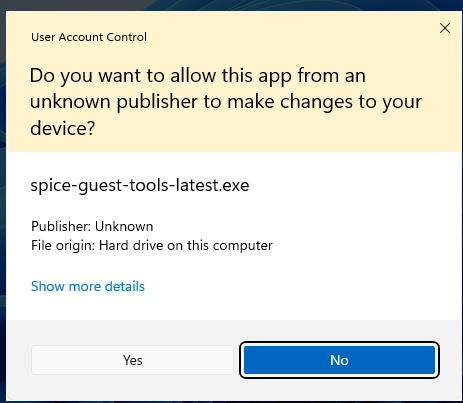
Double-click on the executable.
Click on "Yes" (I'm abusing the system, but you never know if a newbie comes across my blog).
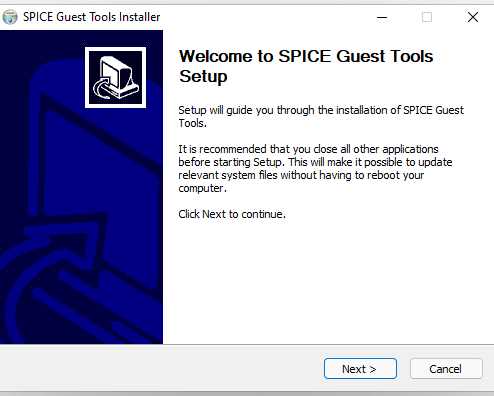
- Click on "Next"
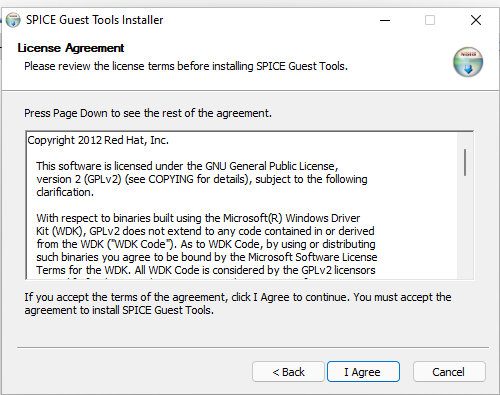
- Accept the terms and conditions by clicking on "I agree"
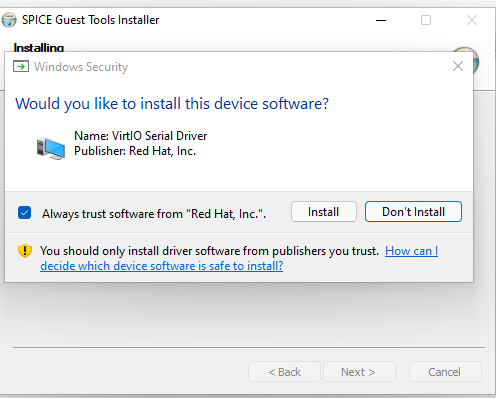
Then, when it asks you to install the drivers (Serial Driver, Ballon driver, SCSI controller, SCSI pass through controller, Ethernet Adapter), click "Don't Install".
Why not? Because if you've followed both parts of my tutorial, you've already installed the latest drivers. And above all, there's no indication of which driver version you're being offered.
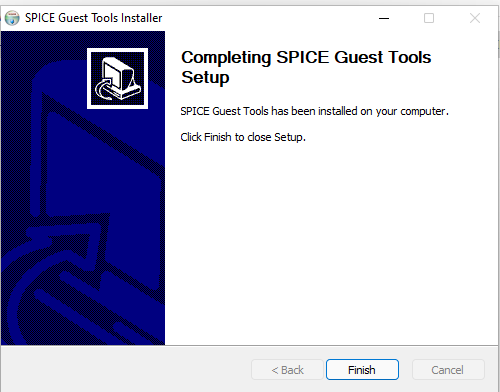
With the SPICE driver installed, click on "Finish".
Finally, install the Virt-Viewer client.
5-Installing the Virt-Viewer client
To access your virtual machine, you need to install the "virt-viewer" client:
On Fedora, Debian, Gentoo and OpenBSD :
# yum install virt-manager (Fedora)
# apt-get install virt-manager (Debian)
# emerge virt-manager (Gentoo)
# pkg_add virt-manager (OpenBSD)
On Windows :
https://releases.pagure.org/virt-viewer/virt-viewer-x64-11.0-1.0.msi
Double-click on the .msi file (silent installation).

Then type "remote viewer" in the search bar.
He presents himself as such.
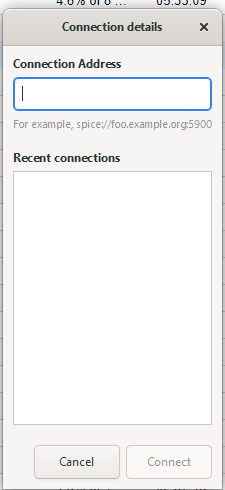
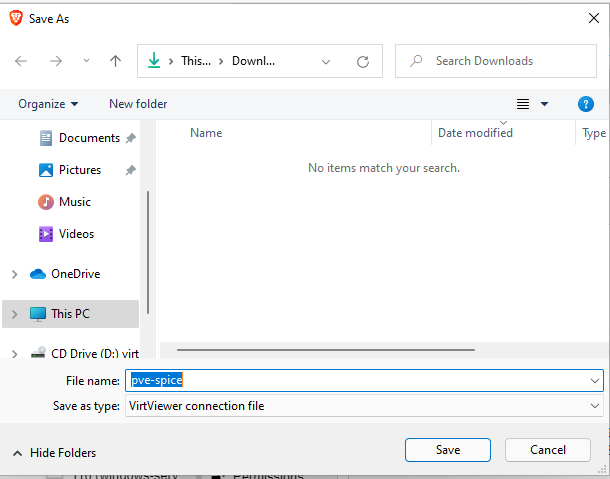
The easiest way to do this is to download the .vv file to your Proxmox VE server.
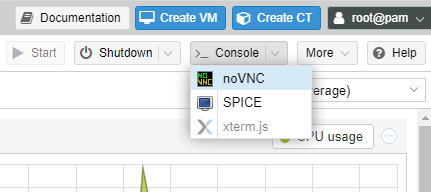
In the top right-hand corner, click on "Console" and then on "SPICE".
Choose the save location (it doesn't matter, it'll disappear automatically).
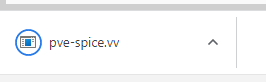
Then click on "pve-spice.vv".
And admire the result!!!

And the icing on the cake. In Virt-Viewer, click on the "Files" tab and "USB device selection".
You'll now be able to assign one of the devices to your client workstation. On my laptop, I can assign the virtual machine :
- My micro-SD card reader
- My 32 GB Sandisk USB key
- My Logitech mouse
- My webcam
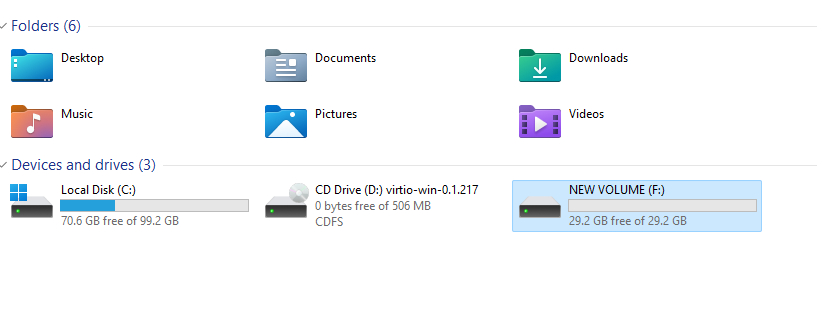
So I'm going to assign it my USB key.
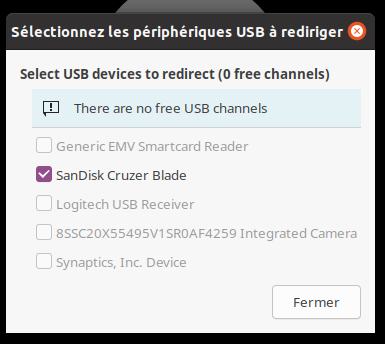
And you can see that my key is recognized inside my virtual machine, without me having to plug it into the server for USB passthrough.
So your desktop will automatically adapt to the size of your window, you'll have sound, the ability to transfer files via drag'n drop and connect USB peripherals. Ain't life grand? Handsome or not?
