Virtualizing Ubuntu Server 22.04 LTS on Proxmox VE
Installation guide for Ubuntu Server 22.04 LTS on Proxmox VE with my best settings.


In this tutorial, you'll kill two birds with one stone. You'll learn how to :
- Create an Ubuntu Server 22.04 LTS virtual machine using best practices
- Create a template for future virtual machines
Download the ISO
There are two ways to download an ISO to Proxmox VE.
Method 1: GUI
Access your web interface and go to servername/localISO Images
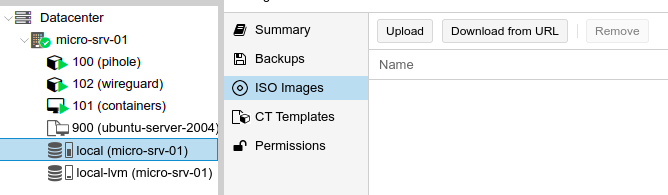
- Click on "Download from URL"
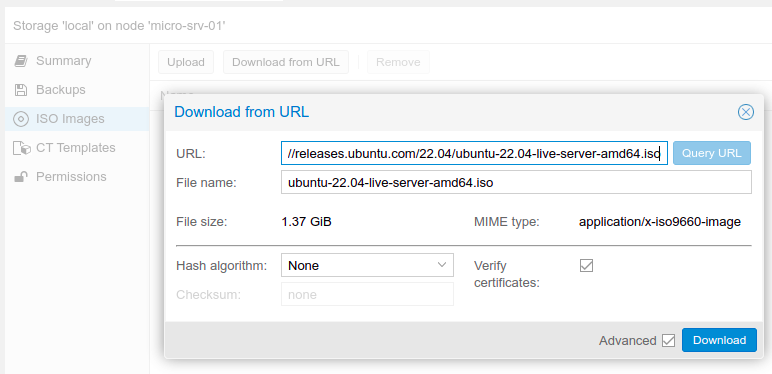
- In "URL", add the following link: https://releases.ubuntu.com/22.04/ubuntu-22.04-live-server-amd64.iso and validate by clicking on "Query URL"
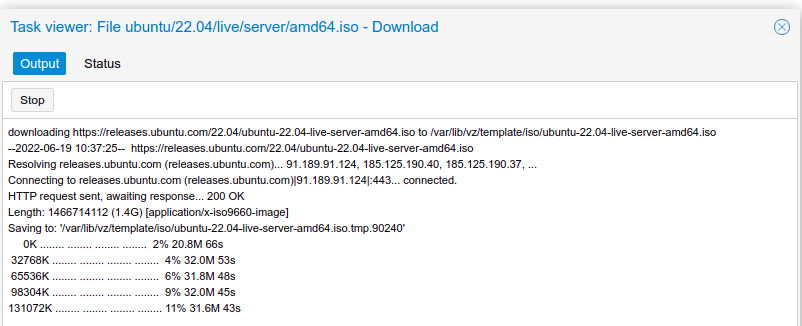
- Then click on "Download" to download the ISO
But there's an even faster method than the web interface.
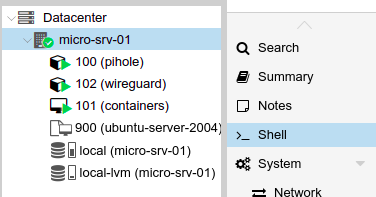
Method 2: CLI (Command Line Interface)
Go to <servername>\shell
Then type the following command in the terminal:
wget -O /var/lib/vz/template/iso https://releases.ubuntu.com/22.04/ubuntu-22.04-live-server-amd64.iso

Find out more about the wget command :
Creating the virtual machine
Let's move on to creating the virtual machine.
Click on "create VM".

Remember to check the "Advanced" box for more options.
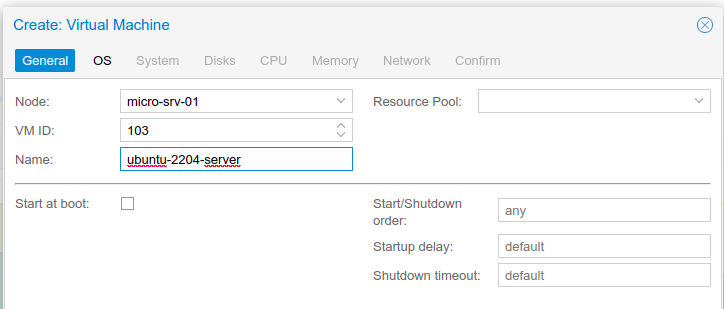
General
Choose an available VMID and a name
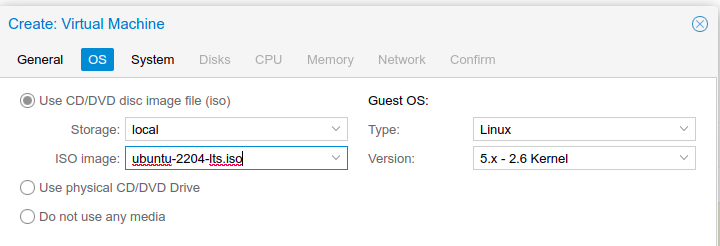
OS
- Storage: Select the Ubuntu Server ISO image
- Guest OS: leave as default
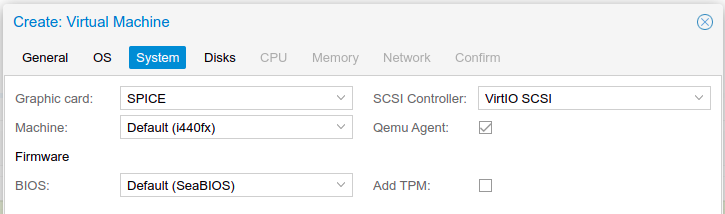
System
- Graphic card: choose SPICE
- SCSI Controller: leave as default (this is the best possible choice in terms of performance)
- BIOS and Machine: leave Seabios and i440fx by default
- Click on Qemu Agent so that PVE can send commands to the virtual machine and receive information
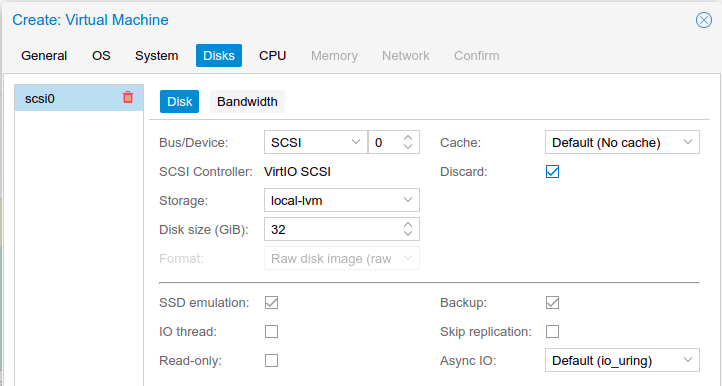
Disks
- Bus/Device: leave as default
- Storage: choose "local-lvm" for dynamic provisioning,
- Disk size (GiB): leave as default (you can extend this later)
Here, two options can be checked:
- SSD emulation: tells the OS to boot on an SSD and not on a spinning disk
- Discard: activates TRIM
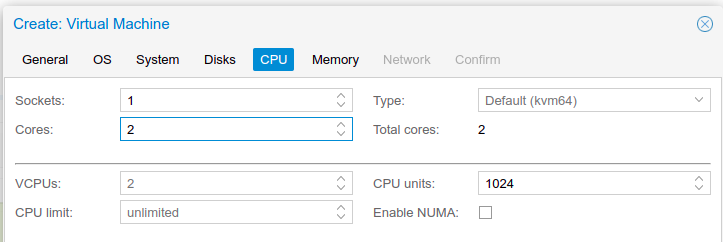
CPU
- Socket: leave as default
- Cores: select the number of cores you require
- Type: kvm64 is the default choice, allowing you to migrate your virtual machine to any server without encountering incompatibilities.
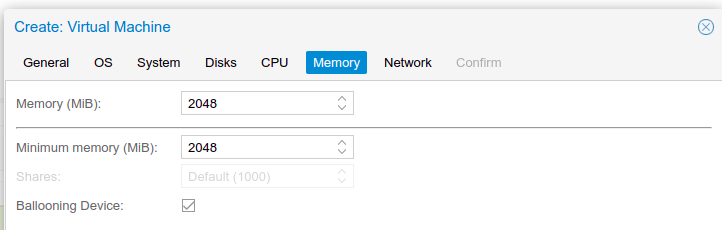
- Memory (MiB): Choose the memory you wish to allocate to your virtual machine (default is 2048 MiB).
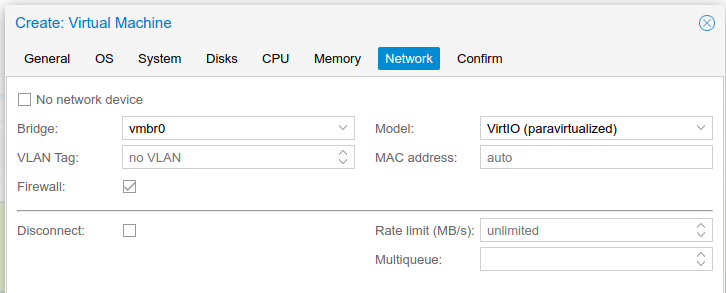
- Bridge: the server's default bridge
- Firewall: Proxmox VE firewall (iptable) enabled by default
- Model: VirtIO is installed as standard in Linux distributions, enabling you to benefit from the performance gains of para-virtualization
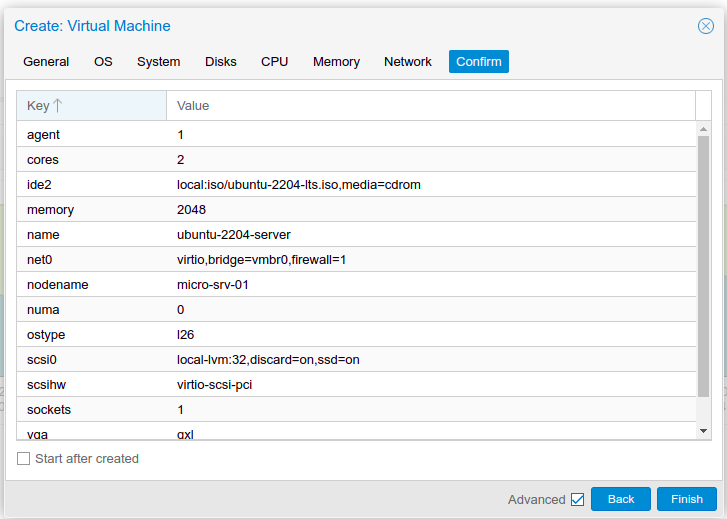
Check that everything is correct, then finish creating the virtual machine.
Optimizations
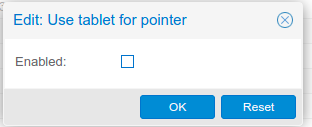
In the virtual machine options, always remember to uncheck the "Use tablet for pointer" option, which is useless and resource-hungry on a server.
Installing Ubuntu Server 20.04 LTS
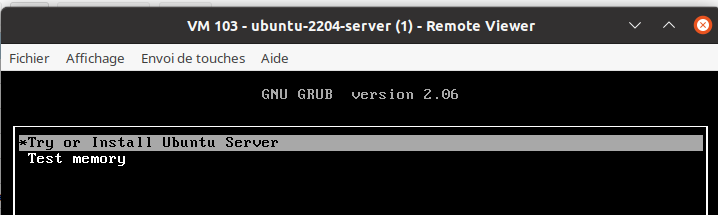
Start the virtual machine and use NoVNC or SPICE to access the interface.
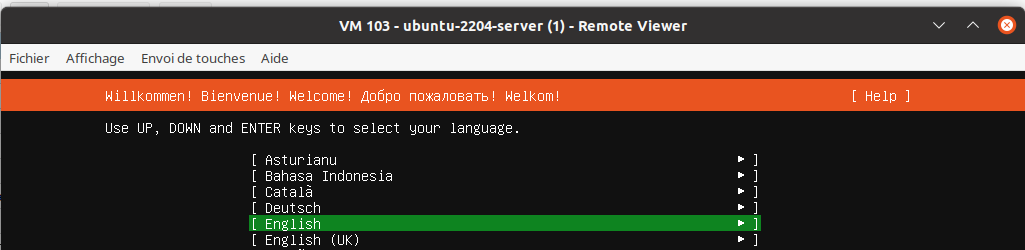
After starting the virtual machine, choose the language you prefer. Choose English for everyday immersion.
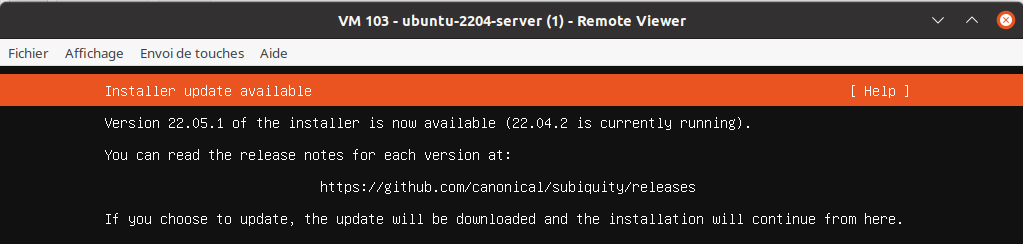
Select "Update to the new installer" and click "Done".
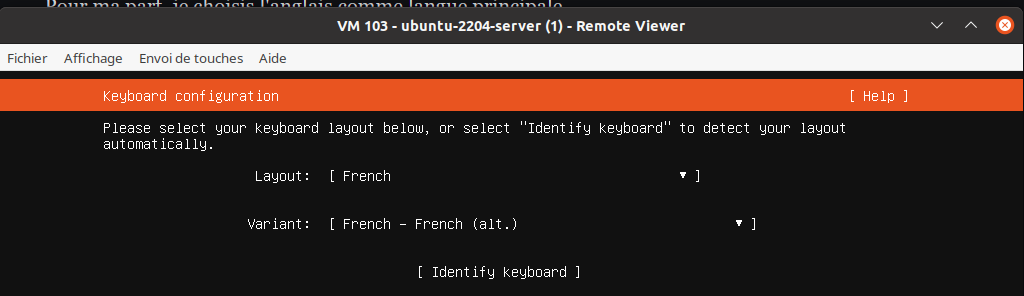
Identify your keyboard with "Identify keyboard", you should get the same result as on the screenshot. Confirm with "Done".
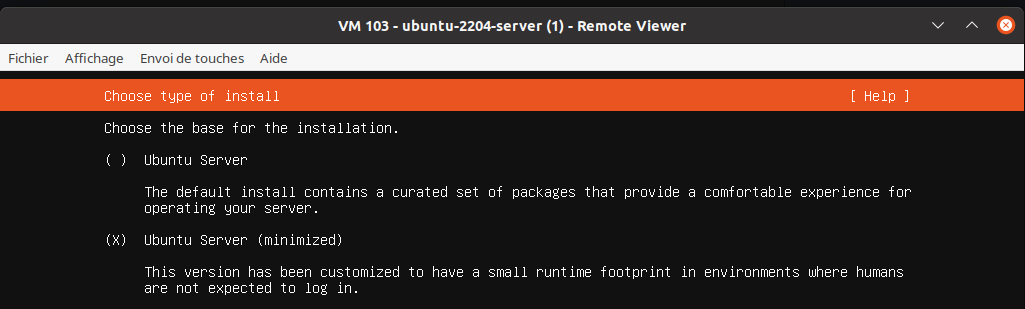
Check "Ubuntu Server (minimized)", which will install the bare minimum on your server. Validate with "Done".
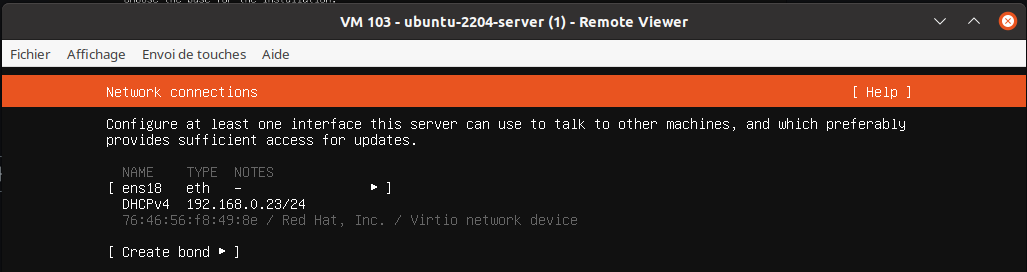
Let DHCP assign an IP address to your server. Later, with cloud-init, you'll be able to assign a fixed IP address (IPv4/IPv6) as well as provide a gateway, SSH key and one or more DNS.
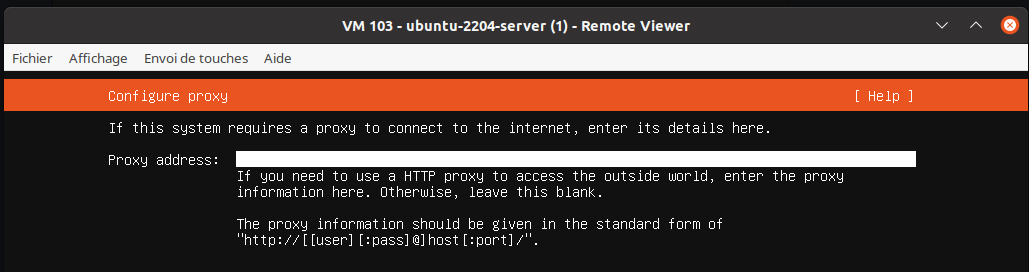
If you don't have a proxy, leave this blank and confirm with "Done".
Leave the mirror as default. It's located in France, so it'll respond faster than mirrors on the other side of the world.

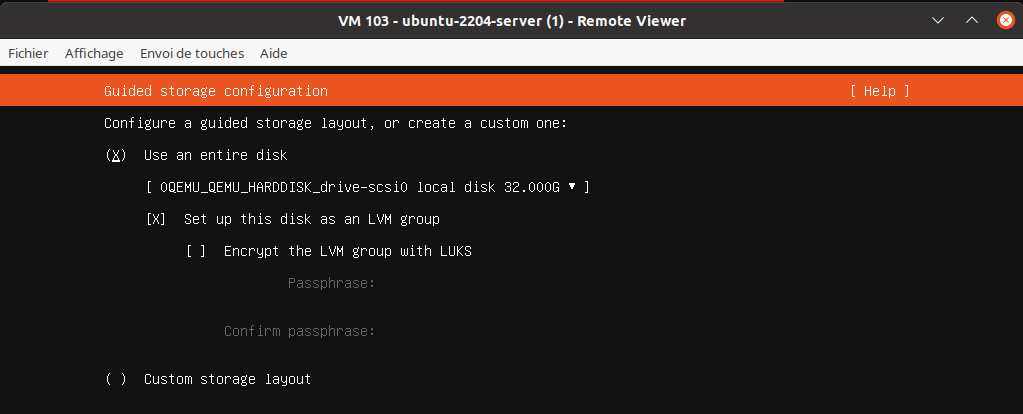
Use the whole disk. When you've gained more experience (I'm talking to beginners here), you'll need to create the following partitions:
- /: root (system) partition
- /home: partition containing users
- /var: partition containing logs, which causes numerous crashes when full
Last but not least, the disk will be formatted in LVM (logical volume management) format.
To find out more about logical volumes :
 Contributors to Wikimedia projects

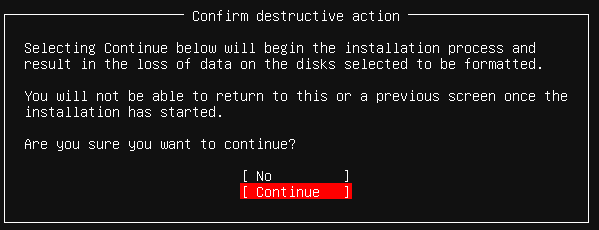
Confirm with "Continue".
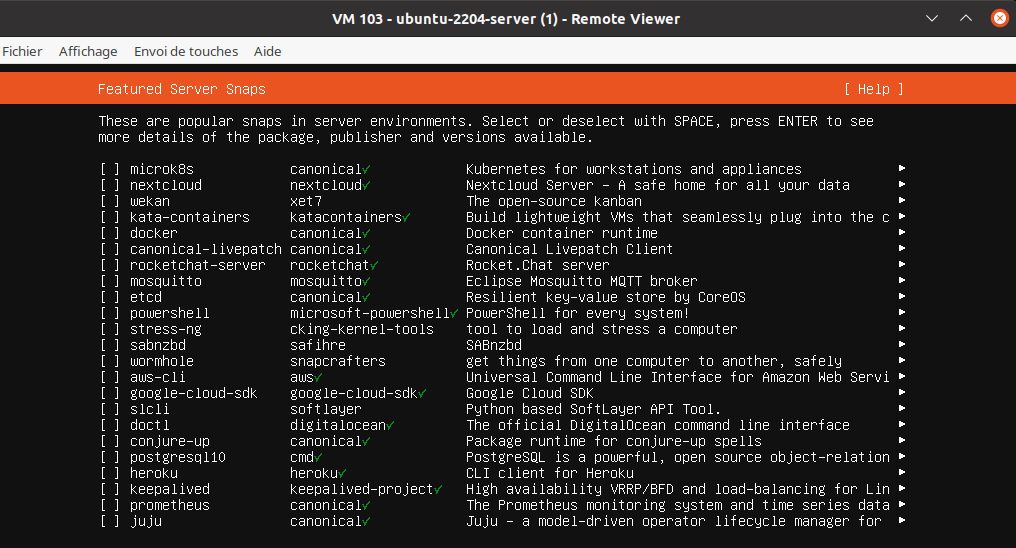
Check the "Install OpenSSH Server" box to be able to connect from a terminal.
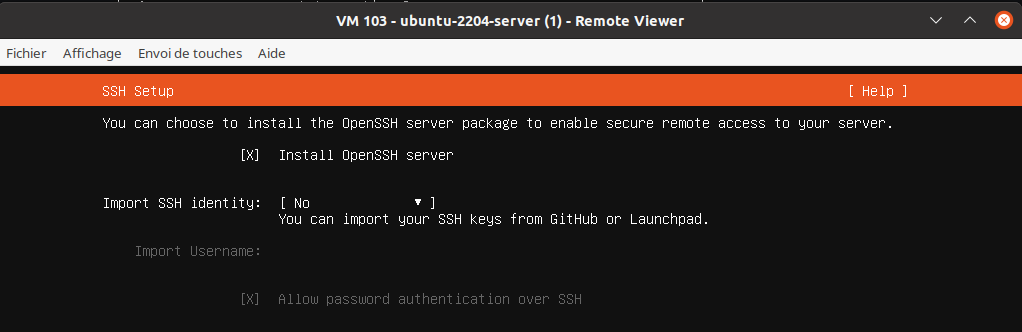
Don't install anything, because we're going to turn this virtual machine into a template.
When finished, confirm with "Reboot Now" and press "Enter".

Congratulations!!!! You've successfully installed Ubuntu Server.
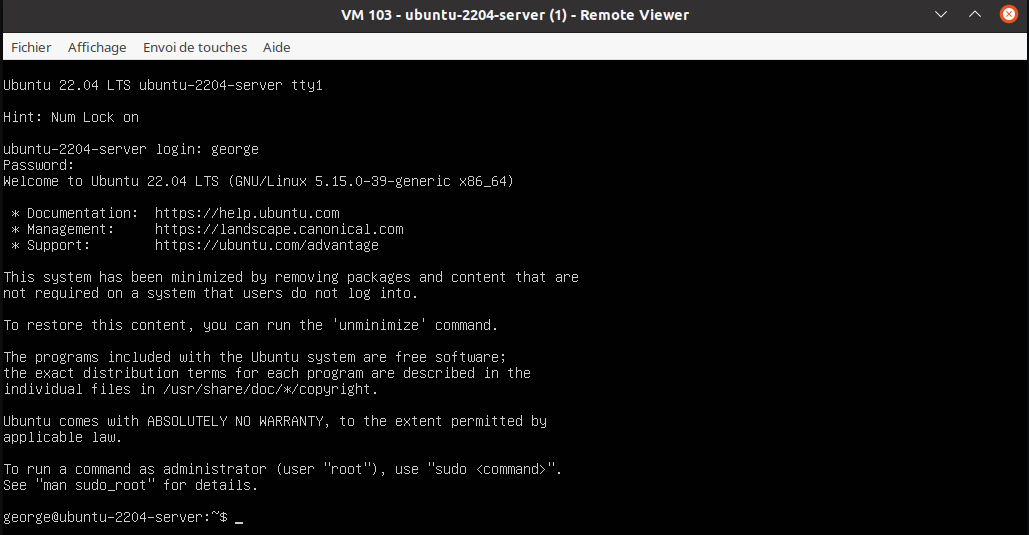

Configuring Ubuntu 22.04 LTS
Connect to your client workstation via SSH and enter your password.
ssh george@192.168.0.23
Warning: Permanently added '192.168.0.23' (ECDSA) to the list of known hosts.
george@192.168.0.23's password:
Welcome to Ubuntu 22.04 LTS (GNU/Linux 5.15.0-39-generic x86_64)

 * Documentation:  https://help.ubuntu.com
 * Management:     https://landscape.canonical.com
 * Support:        https://ubuntu.com/advantage

This system has been minimized by removing packages and content that are
not required on a system that users do not log into.

To restore this content, you can run the 'unminimize' command.
Last login: Sun Jun 19 15:34:00 2022
System update
Update the system with the following command.
sudo apt update && sudo apt upgrade -yQemu-guest-agent
Qemu-guest-agent will enable Proxmox VE :
- Gather information (MAC/IP address),
- Send commands to shut down or restart the virtual machine safely,
Type the following command:
sudo apt install qemu-guest-agent -yCloud-init
Cloud-init (installed as standard) lets you customize your virtual machine right from the start.
The advantage is that many Linux distributions offer ready-to-use cloud-init images. If you're not familiar with it, I've written an article on the subject:

In the case of a template, this is very practical, as cloud-init will do the initial configuration work for you each time you create a new virtual machine.
Install nano (file editor) with the following command.
sudo apt install nano -yThen, in /etc/cloud/cloud.cfg, you'll need to delete a few unnecessary lines in two sections. This is optional, but at least cloud-init will configure the bare essentials.
The "cloud_final_modules" section:
- snap
- ubuntu-advantage
- disable-ec2-metadata
- byobu
The "cloud_config_modules" section:
- fan
- landscape
- lxd
- puppet
- chief
- mcollective
- salt-minion
- rightscale_userdata
Save changes.
The machine-id file
If you do a "cat /etc/machine-id", it should show you the system ID.
george@ubuntu-2204-server:~$ cat /etc/machine-id
0d9fc815df74417c80745bbaef2c0eb3
Delete the identifier and create a blank file.
sudo rm -f /etc/machine-id && sudo touch /etc/machine-idWhy perform this action? You'll need to create a new identifier each time you deploy a new instance from the template you're about to create.
To find out more about the "machine-id" file :

Cleaning up and shutting down the virtual machine
Clean up the system.
sudo apt clean -y && sudo apt autoclean -y && sudo apt autoremove --purge -yRun the "fstrim" command to reduce disk space (necessary when doing dynamic provisioning on lvm-thin).
sudo fstrim -avFinally, shut down your virtual machine.
sudo poweroffCreating a template
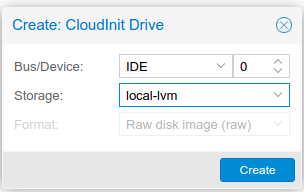
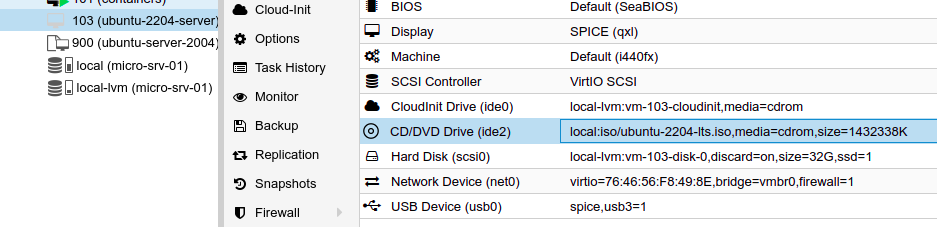
Add a cloud-init drive to your virtual machine as shown in the screenshot below.
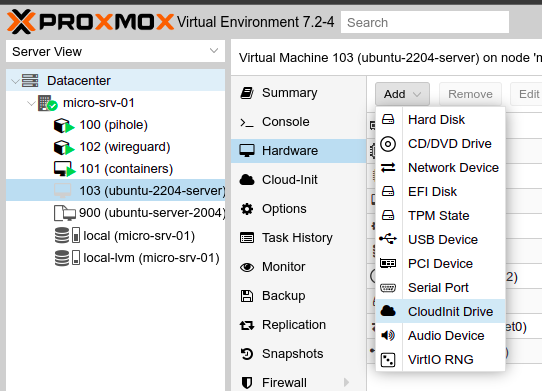
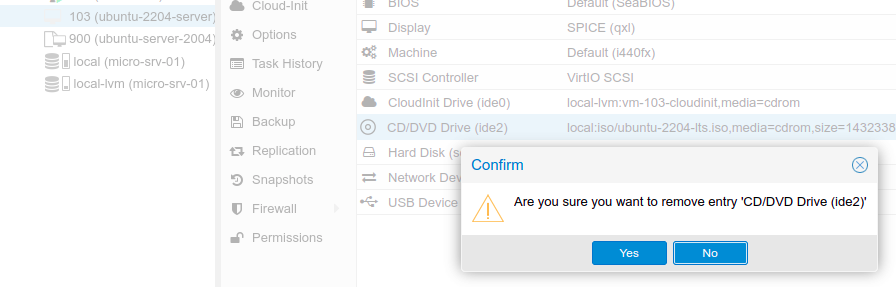
Remove the CD/DVD drive, which is now useless.
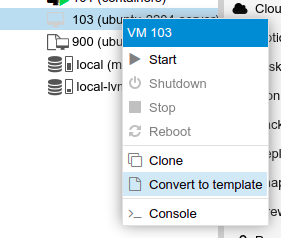
Convert your virtual machine into a template.
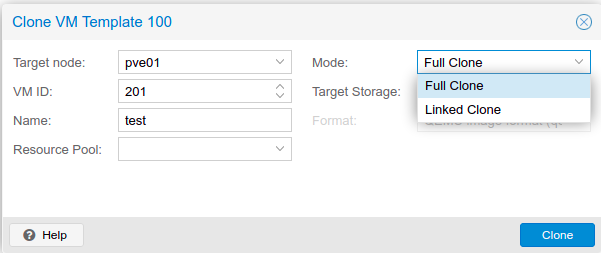
Full clone and linked clone
Once you've transformed your virtual machine into a template, you have two choices:
- Create a full clone, a 1:1 carbon copy of the template, totally independent of it
- Create a linked clone that will continue on the template's disk space (ideal for HomeLab)
Once you have made your choice, you will need to enter the following information in the cloud-init options:
- User: name of the new user
- Password: the new user's password
- DNS Domain: the domain name of the DNS server (optional)
- DNS servers: DNS IP address (optional)
- SSH public key: the SSH key of your client workstation for logging in without a password
- IP Config: static IP address in IPv4 (or IPv6) with your network gateway
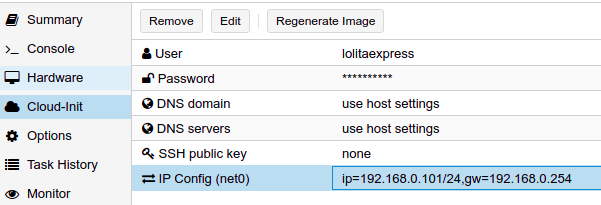
Just start up, and cloud-init will initialize your instance with the information you've provided.
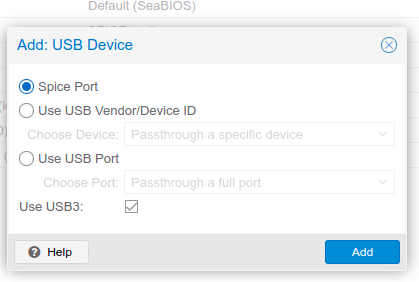
Bonus
Here's a nice little tip I'd like to share with you. By adding a "Spice Port" USB drive to your virtual machine, you can transfer files from the USB key physically connected to your client workstation to your virtual machine.
The USB key (in ext3/ex4 format) will be visible in your virtual machine in "/media/nameduleusb".
See my tutorial on the SPICE protocol for more information: